|
KIT: |
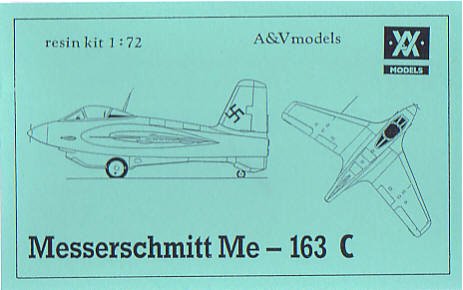
A+V Resins 1/72 Me-163C |
|
KIT # |
0 |
|
PRICE: |
$ |
|
DECALS: |
None |
|
REVIEW & |
Allan Wanta |
|
NOTES: |
Kit vacuform with white metal |
|
HISTORY |
Well into the operational development of the rocket fighter Me-163B, it was known that its limited endurance was its shortcoming. In order to further develop the fighter, the C version was designed. Designed primarily as a stepping stone to the ultimate Me-263 version, the C utilized a similar wing to the B but with an entirely new fuselage. Also used was a two chamber Walter rocket motor, which increased the cruise endurance of the fighter. A number of almost finished 163C's were in final assembly when they were destroyed to save them from being captured by the advancing Russian soldiers.
|
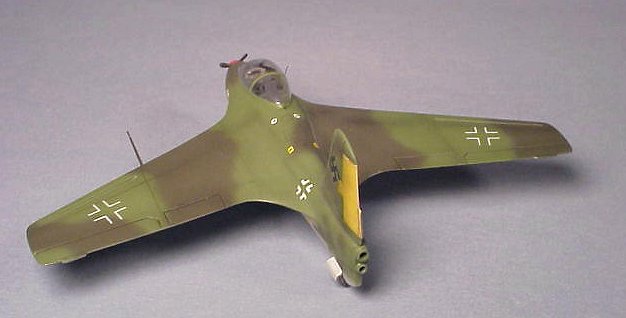
THE KIT |
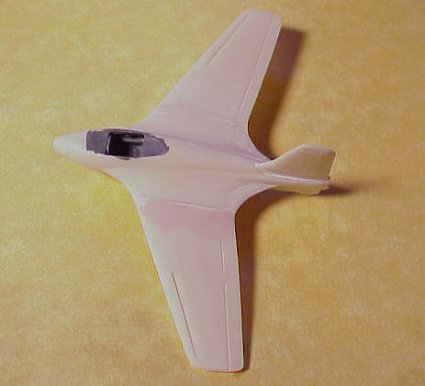
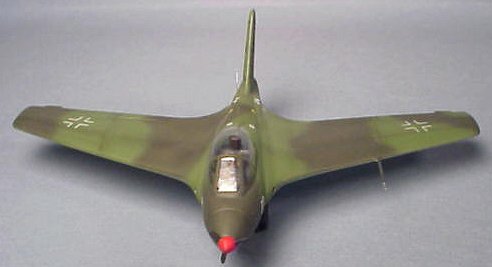
And yet another oddball kit hits the workbench, not because it's a resin, but because it's the little known and modeled Me-163 C. When the rocket fighter is modeled it's usually the more common B version, but believe it or not, the C version kit is out there waiting to be assembled. The A+V resin kit is not a new one, in fact it's one of the earlier kits, and such has a solid one-piece fuselage. A small box is all that appears for the cockpit, not an inviting thing to detail. I took a Dremal tool and ground out the interior to match the interior as close as possible. The kit in general has three main parts, two solid wings, fuselage, the rudder and single clear vac canopy rounds out the plane. A white metal trolley, seat and control stick are included. A split Swastika decal is the only transfer needed for this version as no Me-163C ever made it to operational service. Resin wheels are a bit mis-cast but usable, search the spares part bin for some substitutes. I also managed to use most of the generic photo etched fret included in most of the early A+V kits. And the seat, sidewalls and controls came from the wonderful CMK Me-163B detail set.
|
CONSTRUCTION |
The castings are well done for the age of the kit, engraved lines are a bit deep but a good coat of primer will take care of that. The biggest problem is the lack of wing trailing edge fillet on the fuselage, there is none. It's up to you to bondo and smooth in the wing to the fuselage, not a big deal for most, but definitely not a rookie maneuver. After this assembly, the rest of the kit was elementary and actually simple.
|
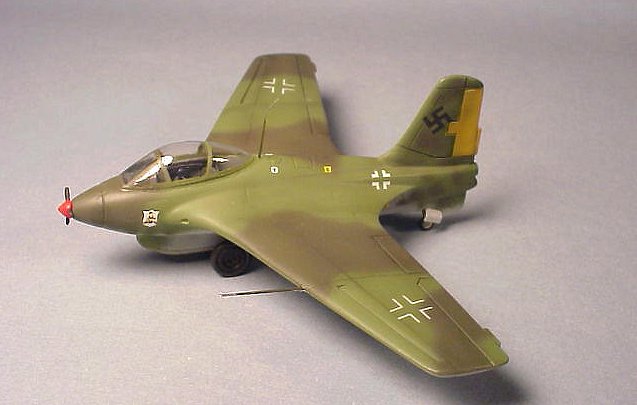
PAINT & DECALS |
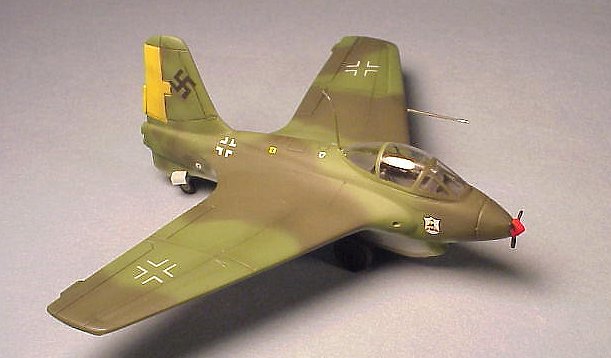
The overall paint scheme was equally simple, RLM 02 Grey overall, well no one said it was going to look stunning! Since I'm making this into an operative aircraft, late war colors using Xtra-color RLM 83, 82 and 76 were used, decals being painted through masks provided by Eduard and some of the Academy Me-163B kit decals. Heavy on the Future, please. Seal those decals and give the overall surface a smooth appearance before the final coat of Flat clear. The extra bits such as the pitot tube, antenna and nose mounted electrical generator were applied lastly and Viola!
|
CONCLUSIONS |
As with most late war projects, it's doubtful as to whether this plane flew before it's ultimate capture, but on my shelf it flies again along with it's stable-mates in one last desperate attempt to curb the Allied onslaught. I'd rate this kit as a 6 for ease of assembly, a Tamiya kit being a 10, so expect a bit of work and resin crafting to get good results. It's a hobby after-all, and not an assembly job. Thank you A+V for the fine little kit!
If you would like your product reviewed fairly and quickly by a site that has over 1,700 visits a day, please contact me or see other details in the Note to Contributors.