| KIT #: | 004814 |
| PRICE: | 3600 Yen |
| DECALS: | One option |
| REVIEWER: | Mark Hiott |
| NOTES: |
Instructions in Japanese, some parts need to be
painted to match the decals. |
| HISTORY |
Harley-Davidson,
often abbreviated simply as Harley, is an American motorcycle manufacturer.
Founded in Milwaukee, Wisconsin, during the first decade of the 20th century, it
was one of two major American motorcycle manufacturers to survive the Great
Depression. Harley-Davidson also survived a period of poor quality control and
competition from Japanese manufacturers.
The company sells
today only heavyweight motorcycles with over 700 cc, designed for cruising on
highways. Harley-Davidson motorcycles are noted for the tradition of heavy
customization that gave rise to the chopper style of motorcycle. Except for the
modern VRSC model family, current Harley-Davidson motorcycles reflect the styles
of classic Harley designs. Harley-Davidson's attempts to establish itself in
 the
light motorcycle market have met little success and have largely been abandoned
since the 1978 sale of its Italian Aermacchi subsidiary.
the
light motorcycle market have met little success and have largely been abandoned
since the 1978 sale of its Italian Aermacchi subsidiary.
The first "real"
Harley-Davidson motorcycle had an engine of 24.74 cubic inches (405 cc) with
9.75 inches (25 cm) flywheels weighing 28 lb (13 kg). The machine's advanced
loop-frame pattern was similar to the 1903 Milwaukee Merkel motorcycle (designed
by Joseph Merkel, later of Flying Merkel fame). The bigger engine and loop-frame
design took it out of the motorized-bicycle category and marked the path to
future motorcycle designs. They also received help with their bigger engine from
outboard motor pioneer Ole Evinrude, who was then building gas engines of his
own design for automotive use on Milwaukee's Lake Street. The prototype of the
new loop-frame Harley-Davidson was assembled in a shed in the Davidson family
backyard. Most of the major parts, however, were made elsewhere, including some
probably fabricated at the West Milwaukee railshops where oldest brother William
A. Davidson was then toolroom foreman. This prototype machine was functional by
September 8, 1904, when it competed in a Milwaukee motorcycle race held at State
Fair Park. It was ridden by Edward Hildebrand and placed fourth. This is the
first documented appearance of a Harley-Davidson motorcycle in the historical
record.
The FLT Tour Glide
was introduced in 1979 as a 1980 model. Sold alongside the existing FLH Electra
Glide, the FLT had a larger frame with rubber engine mounts, a five-speed
transmission, the 80 cu in (1,300 cc) engine, and a frame-mounted fairing. In
order that the FLT frame, which was larger and heavier than the large and heavy
FLH frame, would handle acceptably, the front forks were given radical steering
geometry which had them mounted behind the steering head, with the frame behind
the steering head being recessed to allow adequate steering lock.
 The
FLHT was introduced in 1983. This was an Electra Glide based on the FLT Tour
Glide frame, but using the Electra Glide "batwing" fairing instead of the Tour
Glide frame-mounted fairing.
The
FLHT was introduced in 1983. This was an Electra Glide based on the FLT Tour
Glide frame, but using the Electra Glide "batwing" fairing instead of the Tour
Glide frame-mounted fairing.
Except for the base
FLH, all 1984 FLs were equipped with the new rubber-mounted Evolution engine and
a five-speed transmission.
All "Shovelhead"
engines were discontinued by the 1985 model year. In that year, the four-speed
solid-engine-mount FLH was modified to accept rubber mounting and the Evolution
engine. The FLH was discontinued in 1986; all Touring models thereafter used the
FLT/FLHT frame. Ironically, the FLT Tour Glide, which introduced the current
Touring frame, was dropped from the lineup in 1996. A smaller version of the
frame-mounted Tour fairing would return with the FLTR Road Glide in 1998.
The Evolution engine was replaced by the Twin Cam 88 engine on all large-framed Harley-Davidson motorcycles in 1999. The Twin Cam engine was enlarged from 88 cu.in. to 96 cu.in. in 2007.
| THE KIT |
Opening the box
one is greeted by a large number of parts, most of them in chrome. The other
parts are molded in black, gray and tan, plus there is a rather large clear
sprue. The part are nicely molded and I didn't notice any flash of ejector
marks. T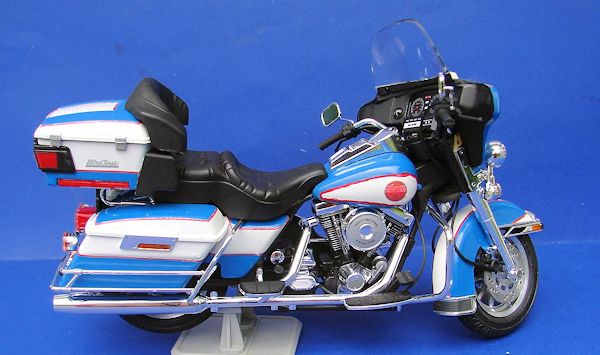 he
huge amount of chrome parts will be a hassle to deal with as there is always a
mark where they attach to the sprues. Two rubber tires are also included. Also
included are various hoses and some screws that will be used to attach the
wheels.
he
huge amount of chrome parts will be a hassle to deal with as there is always a
mark where they attach to the sprues. Two rubber tires are also included. Also
included are various hoses and some screws that will be used to attach the
wheels.
| CONSTRUCTION |
Generally the build went pretty well. I was surprised to
find the engine and wheels were not on the chrome sprue, but are molded in gray.
I followed the instructions until I got to step 17. I skipped this step as I
wanted to leave the front fairing off until the model was done. Less apt to
break it that way.
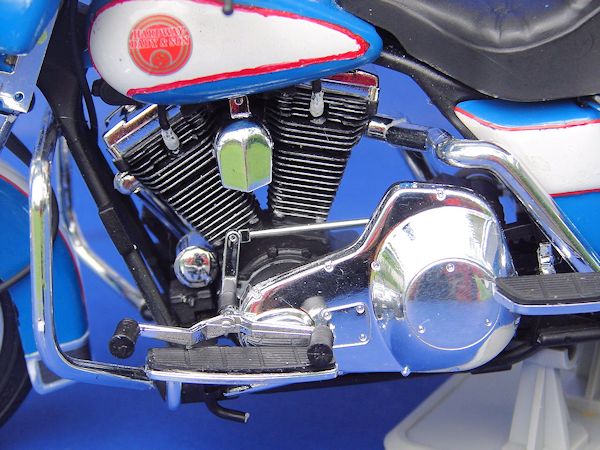
I will give one recommendation... in step 12 the kickstand
in installed. Replace it with a piece of wire, it's very flimsy. Mine broke
before I could take photos and I had to use a spare from another bike model.
 They
hit the knee guards! I tried different ways to see if I could get them to work,
but in the end I removed the knee guards and just didn't use them. Also in step
18, the exhaust is installed. It's a good thing I test fitted everything because
you can't install the side covers in step 19 with the pipes in place. I ended up
installing the covers, then the exhaust pipes, then I went back to step 19 and
finished the step. Parts C14 in step 19 would not fit. They are supposed to hold
the pipes, but they ended up at a crazy angle that I know was not right. Again,
I left them off. (you really can't see them with saddle bags installed anyway)
They
hit the knee guards! I tried different ways to see if I could get them to work,
but in the end I removed the knee guards and just didn't use them. Also in step
18, the exhaust is installed. It's a good thing I test fitted everything because
you can't install the side covers in step 19 with the pipes in place. I ended up
installing the covers, then the exhaust pipes, then I went back to step 19 and
finished the step. Parts C14 in step 19 would not fit. They are supposed to hold
the pipes, but they ended up at a crazy angle that I know was not right. Again,
I left them off. (you really can't see them with saddle bags installed anyway)
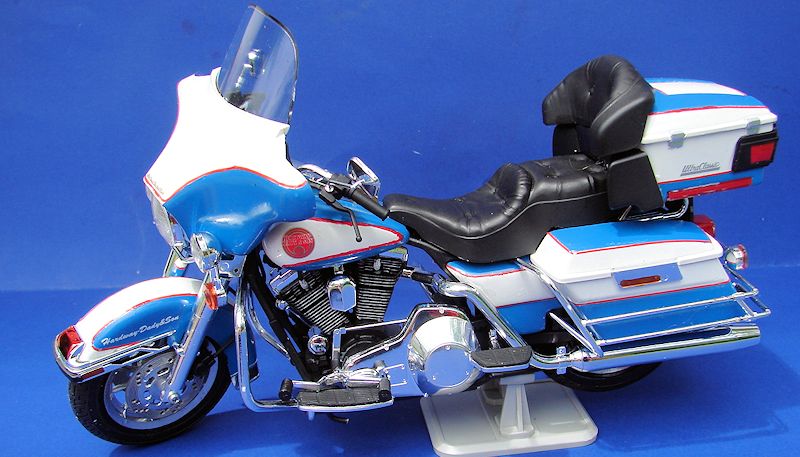
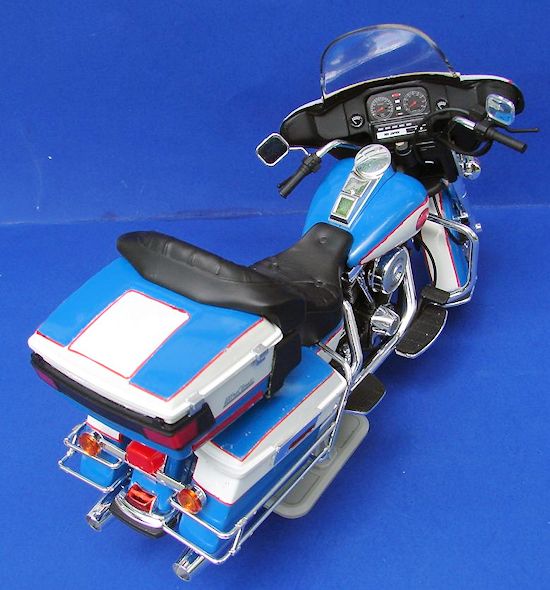
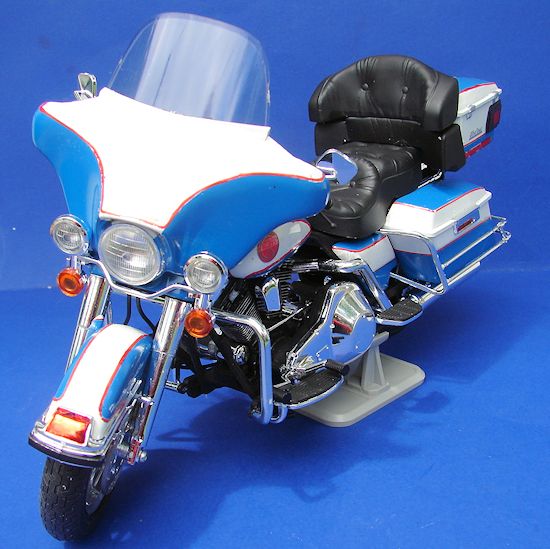
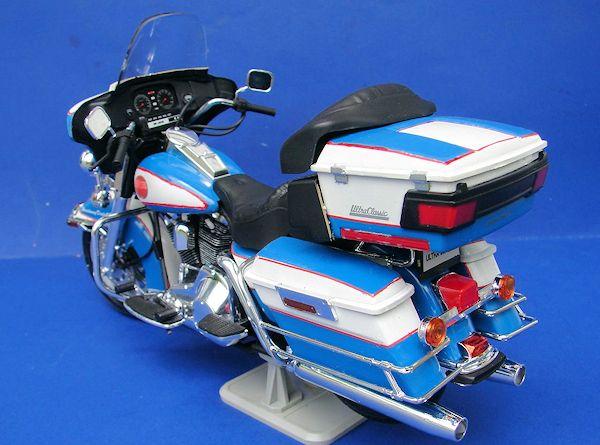
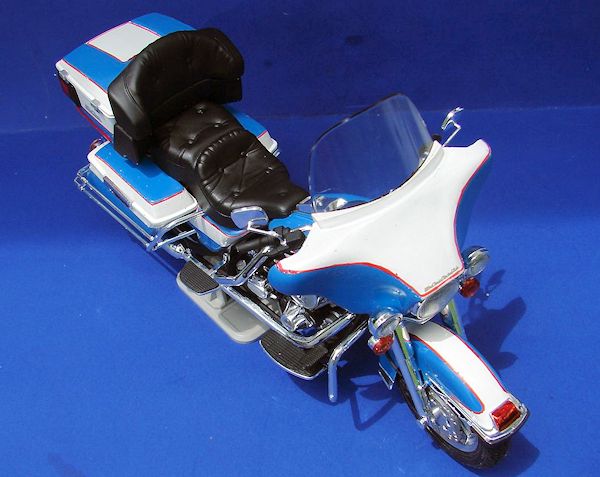
| COLORS & MARKINGS |
I didn't really care for the scheme shown on the box,
and since I had to paint some of the colors to match the decals, I decided to
paint it blue on white instead. It would make for some inventive decaling, but I
think it looks good when finished.
 with
Tamiya clear red or orange. It works ok for the clear lights, but looks kinda
funky on the chrome parts that required it.
with
Tamiya clear red or orange. It works ok for the clear lights, but looks kinda
funky on the chrome parts that required it.
| CONCLUSIONS |
| REFERENCES |
Internet for reference photos.
July 2013
Thanks to for the preview kit. You can find this kit at your favorite hobby shop or on-line retailer.
If you would like your product reviewed fairly and fairly quickly, please contact the editor or see other details in the Note to Contributors.