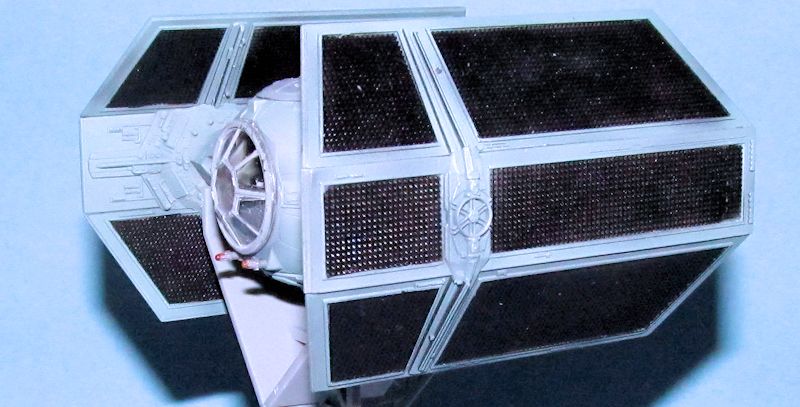
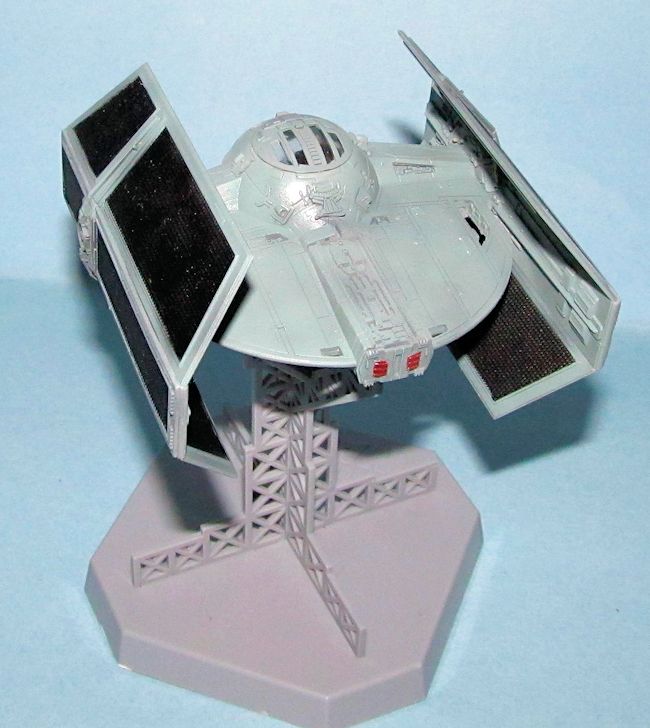
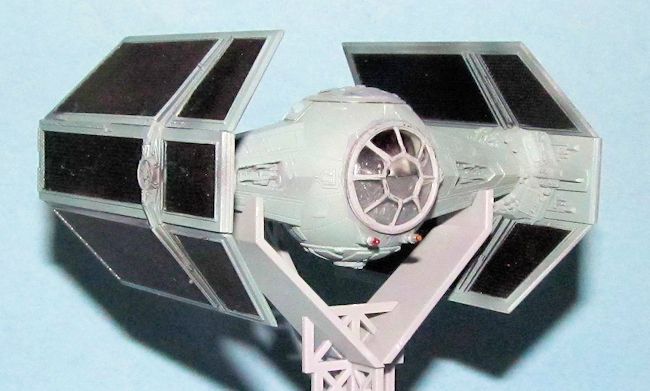
Fine Molds 1/72 Darth Vader's TIE fighter
| KIT #: | SW-16 |
| PRICE: | 2500 yen |
| DECALS: | One option |
| REVIEWER: | Dan Lee |
| NOTES: |
| HISTORY |
“We'll have
to destroy them ship to ship.”
-Darth Vader
As per movie
tradition, the big bad dragon/villain needed to have a unique ship that would
stand out among the underlings so Lucasfilm designed one.
It had bent solar “wings” and a longer body unlike the anonymous TIE
fighters and was the only Imperial ship to survive the Death Star Battle.
From
Wookiepedia
 The TIE
Advanced x1 featured a Sienar Fleet Systems I-s3a solar ionization reactor and
paired P-s5.6 twin ion engines like the original Tie Fighter. However, the x1
had an original spaceframe, with an elongated rear deck and reinforced durasteel-alloy
hull. The x1's most important innovation was the use of "bent-wing" solar array
wings, like those used on the TIE/sa bomber, which had the advantages of
increased surface area for more power while also reducing the craft's profile,
compared to the TIE/LN starfighter's hexagonal panel wings.
The TIE
Advanced x1 featured a Sienar Fleet Systems I-s3a solar ionization reactor and
paired P-s5.6 twin ion engines like the original Tie Fighter. However, the x1
had an original spaceframe, with an elongated rear deck and reinforced durasteel-alloy
hull. The x1's most important innovation was the use of "bent-wing" solar array
wings, like those used on the TIE/sa bomber, which had the advantages of
increased surface area for more power while also reducing the craft's profile,
compared to the TIE/LN starfighter's hexagonal panel wings.
Speed was
only slightly improved due to the added mass of the vessel; a good deal of the
extra power was bled off to the deflector shield generators. While less
maneuverable than standard TIE fighters, it was more resilient in battle.
The 9.2
meter-long craft had twin heavy L-s9.3 laser cannons in a fixed, front-mounted
position, as well as a cluster missile launcher. In addition to its shields, it
had a modest Class 4.0 hyperdrive but no life support systems. The target
tracking system was also more sophisticated than the already formidable advanced
targeting system on standard TIE craft, used to overcome the extremely powerful
electronic jamming used by all combat craft to defeat target lock in battle. For
best performance, the targeting system of the x1 required frequent adjustment in
combat.
Only the
most elite Imperial pilots flew the TIE Advanced, and the starfighter was
capable of fighting a T-65 X-wing starfighter to a draw.
| THE KIT |
 For the
last 35 years, the only (legal) commercially available version of Darth Vader’s
TIE Fighter was one made by MPC. It
was approximately done in 1/32 scale and it had some fit issues which are on par
with science fiction kits from the 70s.
The kit can still be made into a decent model, but it seems from the
online review sthat it requires a lot of modeling skill and putty.
For the
last 35 years, the only (legal) commercially available version of Darth Vader’s
TIE Fighter was one made by MPC. It
was approximately done in 1/32 scale and it had some fit issues which are on par
with science fiction kits from the 70s.
The kit can still be made into a decent model, but it seems from the
online review sthat it requires a lot of modeling skill and putty.
Fine Molds’
Darth Vader Tie Fighter comes with three sprues of light grey plastic of some 40
parts, one small sprue containing two clear parts, one small sheet of decals and
a sheet of masks for the clear parts.
The parts are flash free and have no real imperfections except mold marks
while the detail is very good and reasonably accurate.
| CONSTRUCTION |
I started by
cleaning up then assembling the parts of the cockpit, the rear fuselage and the
center section of the solar panel as subassemblies.
The Darth Vader Tie Fighter is actually easier than Fine Mold’s Tie
Fighter and Tie Interceptor as it was designed to minimize sanding and filling
because the seams are actually panel lines.
The only area I had to sand after assembly was along the trailing edge of
the rear fuselage.
 A few days
later, I painted the cockpit as it was warm enough to open up the windows in the
basement which allowed me to vent out paint fumes through my fume hood.
The cockpit side panels and cockpit ‘pit were sprayed Tamiya XF-19 Sky
Grey with minor details hand painted flat black and then coated with Tamiya X-22
Clear to provide a gloss coat for the interior decals.
Once dry, the decals were added to the side panels with some Micro Sol
and Micro Set.
A few days
later, I painted the cockpit as it was warm enough to open up the windows in the
basement which allowed me to vent out paint fumes through my fume hood.
The cockpit side panels and cockpit ‘pit were sprayed Tamiya XF-19 Sky
Grey with minor details hand painted flat black and then coated with Tamiya X-22
Clear to provide a gloss coat for the interior decals.
Once dry, the decals were added to the side panels with some Micro Sol
and Micro Set.
Darth Vader
was painted gloss black, silver, steel and white.
The figure was glued to the seat after the paint was dry enough.
A portion of
the forward fuselage was sprayed the Tamiya version of RLM-66 as per
instructions.
I glued the
completed cockpit into the rear fuselage and then glued the forward fuselage to
the rear fuselage. This assembly
was held together with C-Clamps for a half hour till the bond was sufficiently
strong enough to hold. Next I added
the center portions of the solar panels which are keyed differently for
starboard and port sides. I left
the remaining solar panels on the sprue gates till final assembly.
| COLORS & MARKINGS |
The panel
lines of the Tie Fighter were pre-shaded using a thinned coat of Tamiya XF-66
German Grey which was also used to paint the forward portion of the cockpit.
This was done before the fuselage halves were glued together.
I sprayed
the interiors of the solar panels gloss black and then let the paint dry.
 The
original “reel” model was painted using Air Superiority Blue.
In a previous Tie family build, I painted went with Duck Egg Blue Blue
but that was too light. Since I did
not have time to look for and buy an Air Superiority Blue equivalent I went with
what I had on hand. The closest
paint I had to the original color was Tamiya XF-23 Light Blue.
The
original “reel” model was painted using Air Superiority Blue.
In a previous Tie family build, I painted went with Duck Egg Blue Blue
but that was too light. Since I did
not have time to look for and buy an Air Superiority Blue equivalent I went with
what I had on hand. The closest
paint I had to the original color was Tamiya XF-23 Light Blue.
I did the
tedious task of masking the canopy (if you want to call it that) windows as well
as mask off the gloss black panels on the solar “wings” using Tamiya Tape.
This task took much longer than I thought (it took almost four hours
instead of the one hour I estimated.)
I also masked off the cockpit openings.
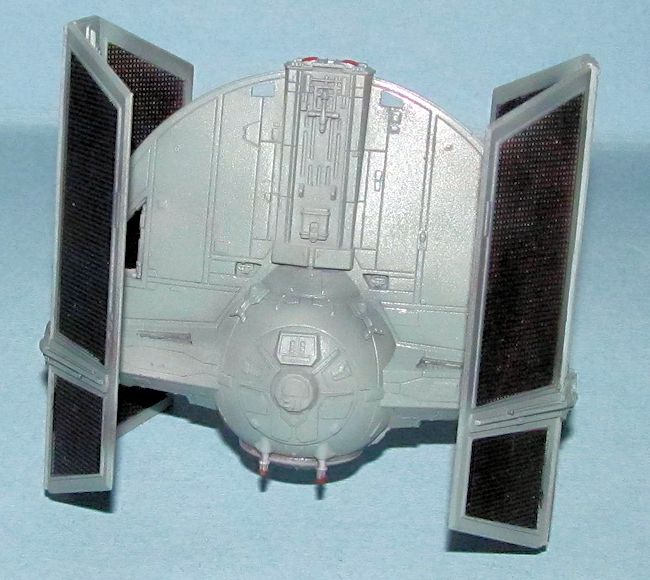
When I had
time, I sprayed the canopy parts with Neutral Grey.
Next I sprayed XF-23 in thin coats on the fuselage and top hatch to allow
some of the pre-shading to appear.
Next I sprayed X-22 clear coat to provide a base for the decals.
After the
paint dried, I removed all the masking and added the 3 exterior decals to the
top hatch.
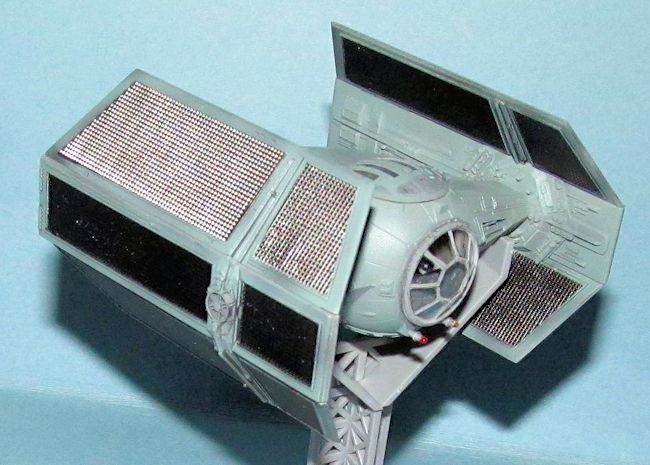
The
remaining solar panels were removed from the sprue gates, cleaned up and glued
to the model. Next the remaining
parts were added including the canopy pieces and the hand painted laser nozzles
using Tamiya Extra Thin Glue.
Finally, I hand painted neutral gray in the area surrounding the forward canopy.
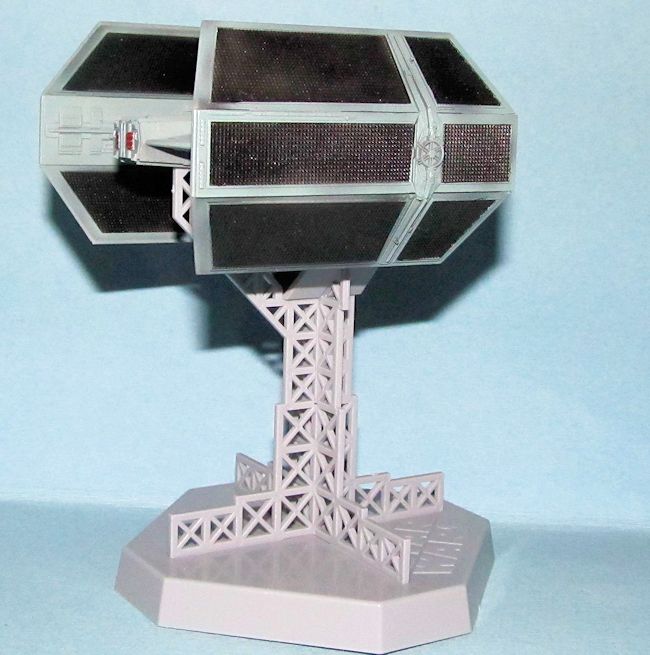
| CONCLUSIONS |
 This is
one of Fine Molds better Star Wars models as it was very easy to assemble and
relatively easy to paint despite all the masking required.
Perfect for a beginner all the way to advanced.
Well engineered and designed which allows the modeler to build it quickly
into a very good model.
This is
one of Fine Molds better Star Wars models as it was very easy to assemble and
relatively easy to paint despite all the masking required.
Perfect for a beginner all the way to advanced.
Well engineered and designed which allows the modeler to build it quickly
into a very good model.
It only took
me two weeks to go from arrival to completion.
If I had time to concentrate on it instead of a couple of hours a week
then I probably would have had it finished in a weekend.
Kit courtesy of my wallet.
May 2014
If you would like your product reviewed fairly and fairly quickly, please contact the editor or see other details in the Note to Contributors.