Revell Tie Interceptor
| KIT #: | 85-8342 |
| PRICE: | ~$10.00 |
| DECALS: | Prepainted |
| REVIEWER: | Keoki Gray |
| NOTES: |
|
| HISTORY |
 From the box: “A later addition to the TIE starfighter arsenal,
the TIE interceptor sports a jagged pair of dagger-like wings, giving it an
ultrasleek profile that hints at the blinding speed the fighter possesses.
Unlike the TIE fighter, the interceptor has four powerful laser cannon mounted
on the tips of the dagger wings.” Whew!
From the box: “A later addition to the TIE starfighter arsenal,
the TIE interceptor sports a jagged pair of dagger-like wings, giving it an
ultrasleek profile that hints at the blinding speed the fighter possesses.
Unlike the TIE fighter, the interceptor has four powerful laser cannon mounted
on the tips of the dagger wings.” Whew!
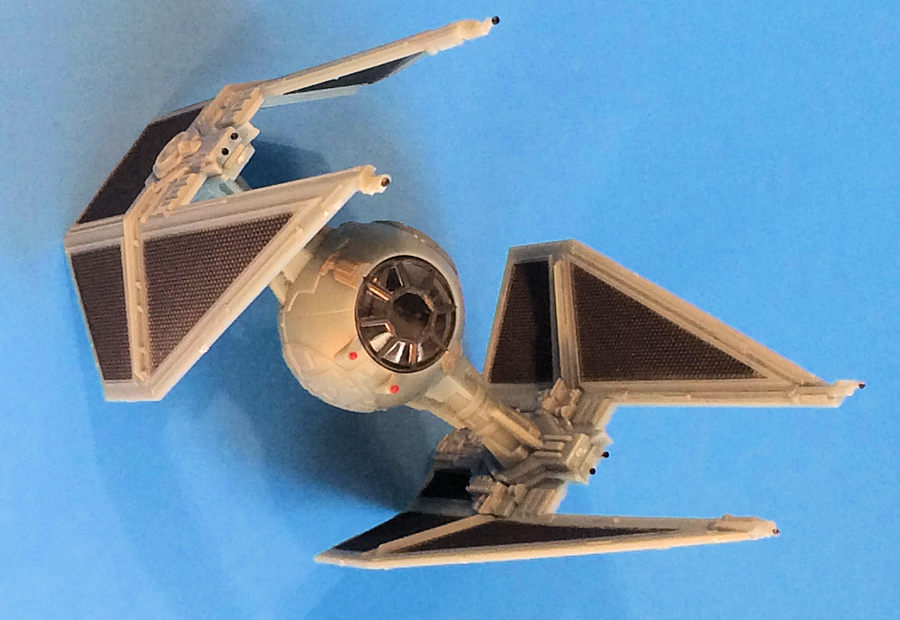
The TIE Interceptor made its first movie appearance in “Return of the Jedi,” during the battle of Endor. It certainly looked very different—and much more menacing—then the TIE fighters, at least in my memory. So when the local store was selling off a few underappreciated models, I grabbed the Revell Star Wars Snap Tities Interceptor and Darth Vader’s TIE Fighter.
| THE KIT |
 The kit comes in a hangar box with
a clear view front that displays the major parts. They are suspended in a clear
plastic tray and show the pre-painted surfaces to good effect. Beneath the tray
are two plastic bags containing: 1) the smaller detail parts, and; 2) the
pre-painted clear parts of the forward view panel and the overhead hatch.
The kit comes in a hangar box with
a clear view front that displays the major parts. They are suspended in a clear
plastic tray and show the pre-painted surfaces to good effect. Beneath the tray
are two plastic bags containing: 1) the smaller detail parts, and; 2) the
pre-painted clear parts of the forward view panel and the overhead hatch.
The instructions are illustrations only, printed on a two-sided 8.5x11 inch sheet. While the parts are numbered in the instructions, the parts themselves are not numbered. That would lead me into a minor “gotcha” later in the build.
The parts are painted nicely. There are no decals include as none are needed. This is a simple snap together (or “Snap Tite”) kit, right? Pre-painting and a lack of decals means a quick assembly so we can get on with battling those pesky Rebels.
| CONSTRUCTION |
I removed parts as necessary according to the instructions. Some of the parts were difficult to free from the tray. When I noticed one of the larger inner wing pieces (was it 6, or 16?) bending to the point of stress discoloration I decided to cut them free rather than risk breakage. The parts do not come on sprues, but you can tell that the parts were either cut or snapped from the spruce at the factory. I trimmed all the attachment points even though it risked the paint.
 The cockpit is small and is made up
of the half the model’s total parts count. The control arms that attach to the
seat behind the pilot were a bit loose so I used glue there, and a bit under the
seat in the slot so that the pilot’s butt tab would stay in place. I did not
want either of these pieces to come lose once the model was finished. Aligning
the cockpit sides, back and front was a bit of a challenge as the locating pins
are small and all have to line up correctly. Following the order of assembly
here will make life much simpler.
The cockpit is small and is made up
of the half the model’s total parts count. The control arms that attach to the
seat behind the pilot were a bit loose so I used glue there, and a bit under the
seat in the slot so that the pilot’s butt tab would stay in place. I did not
want either of these pieces to come lose once the model was finished. Aligning
the cockpit sides, back and front was a bit of a challenge as the locating pins
are small and all have to line up correctly. Following the order of assembly
here will make life much simpler.
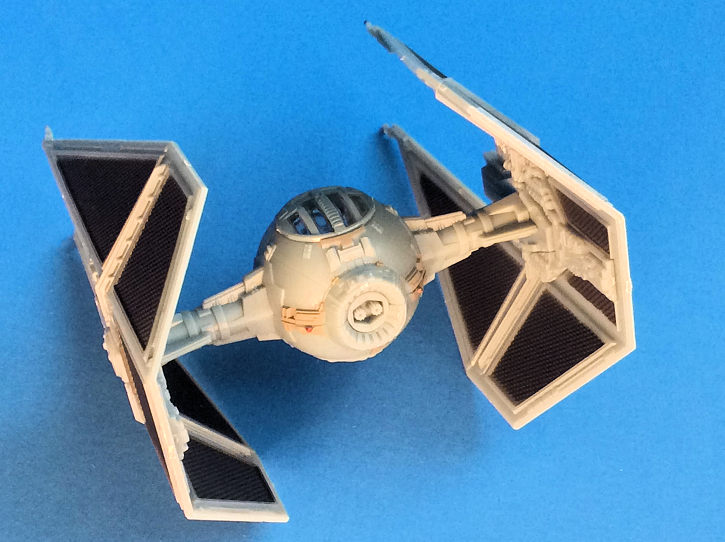
Pressing the cockpit into the lower fuselage also gave me pause. Care to press the cockpit into the three receiving holes is required so the cockpit does not break apart. I found that when the alignment was just right it slipped in without trouble. Bottom line—be gentle. The top of the fuselage goes on next, trapping the forward view panel in place. It’s keyed to fit in so the alignment of the pre-painted (thank goodness) frame is correct. The hatch fit well, too. Once the fuselage is together the front seam is barely noticeable; the rear seam a little more so. Tragically, the pilot, seat and the most of the interior are barely noticeable, too.
The wings look simple, but this is where I ran into a slight problem. A quick glance made me believe that the parts were identical left/right, a conviction bolstered by the fact that I did not see any part numbers on the parts themselves. Wrong!
T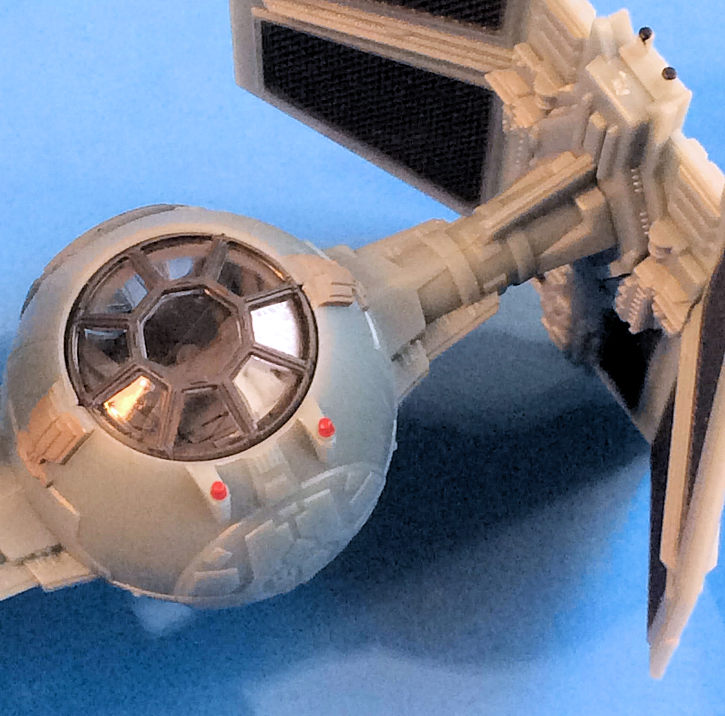 he inner wing surfaces have two
smaller pieces each that build up the area where the fuselage arms connect to
each wing panel. The large pieces (6 and 16) do in fact appear identical, but
there are two smaller pieces that overlie them (18 and 20). These are NOT
identical.
he inner wing surfaces have two
smaller pieces each that build up the area where the fuselage arms connect to
each wing panel. The large pieces (6 and 16) do in fact appear identical, but
there are two smaller pieces that overlie them (18 and 20). These are NOT
identical.
One has two small slots at the hole where the fuselage arm attaches on the other has only one slot. The pins on the fuselage arms are also different sizes. You must make sure the tab(s) and pin sizes match or they won’t fit properly. Look closely are the fuselage arms as your guide. I learned this as I was trimming the large one to fit into the smaller hole, and had to use glue to fix the mistake. Fortunately it’s unnoticeable now.
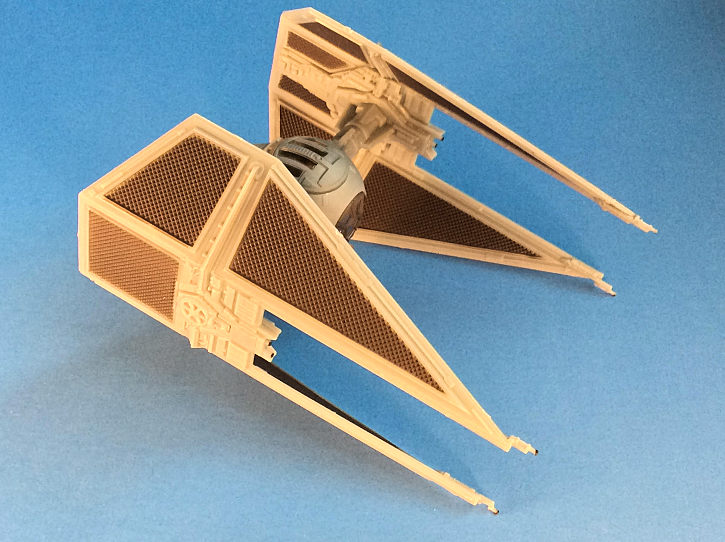
Once the wings are on the model looks really nice. The small sprue connections around the edges of the wings are there if you look for them, but that part of the wings is unpainted so they’re not too obvious. Almost all of the other attachment points are not visible once the parts are assembled.
A quick check on “Wookieepedia” claims the TIE Interceptor is 9.6 meters long. The finished model measures 3.875 inches, so the scale works out to 1/96.6. Since I’ll give Revell the benefit of the doubt versus my measurements, call it 1/100 scale.
| CONCLUSIONS |
Overall, I liked this kit. It is a little fiddly and you need to look closely at the details/parts to assure a trouble-free fit. The box says “8+”, but I feel that even with help a pre-teen might be frustrated. If the parent has some model building experience then an eight-year-old could probably do all right.
Again, from the box:
Benefits to Children
Builds Self-Esteem & Dexterity
Educational—Develops Learning Skills
Learn Goal Setting, Decision Making, & Problem Solving (Amen!)
Can Lead to Future Careers
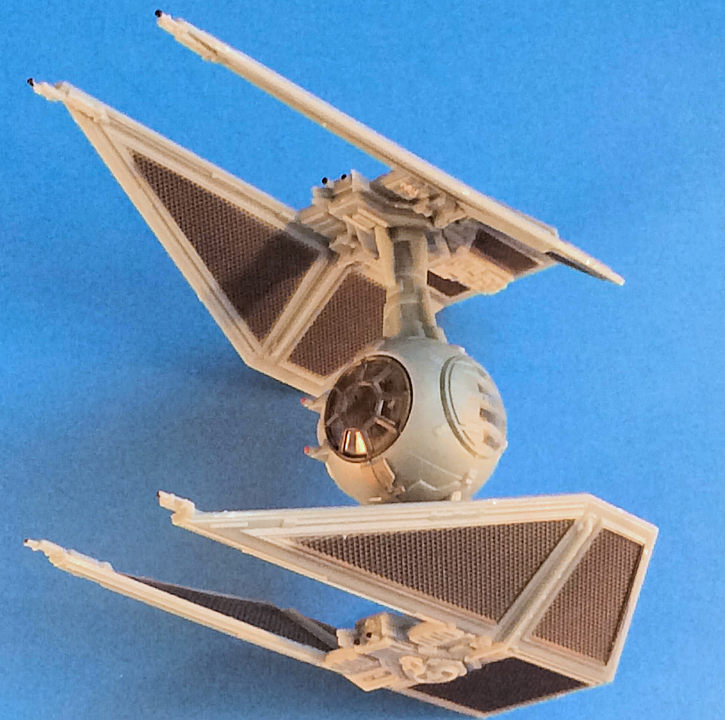
It has a solid feel to it (glue?). I think it would stand up to the rigors of chasing the Millennium Falcon or X-Wings—or even the odd dog or cat. It makes a neat display model for the shelf, has good detail and makes a great companion to Darth’s TIE Fighter.
| REFERENCES |
I did a couple of quick searches, mainly for the history so as not to embarrass myself with my old memory. For more information set aside a day or two and get lost in the Star Wars universe. You will probably be surprised at the volume of information that is out there. (Sheesh, don’t the people who write/post all this have jobs . . . ?)
29 June 2017
Copyright ModelingMadness.Com.
If you would like your product reviewed fairly and fairly quickly, please contact the editor or see other details in the Note to Contributors.
Back to the Main Page Back to the Review Index Page Back to the Previews Index Page