Revell 1/144 AV-8B Harrier II Plus
| KIT #: | |
| PRICE: | @ 5 EUR |
| DECALS: | Two options |
| REVIEWER: | Frank Spahr |
| NOTES: |
| HISTORY |
I
have no idea how this kit got into my stash. There is a sticker from a raffle on
it, I might have won it or a friend of mine might have given it to me. Anyway it
was in my stash when I tested my new Gabbert Triplex
 airbrush, so I pulled it
out and built it OOB. Without any undue research, trepidations, aftermarket or
anything to
airbrush, so I pulled it
out and built it OOB. Without any undue research, trepidations, aftermarket or
anything to
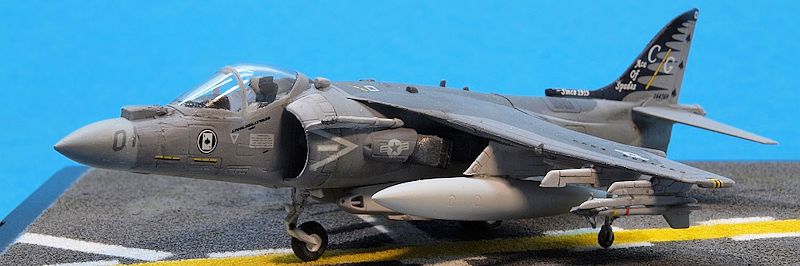
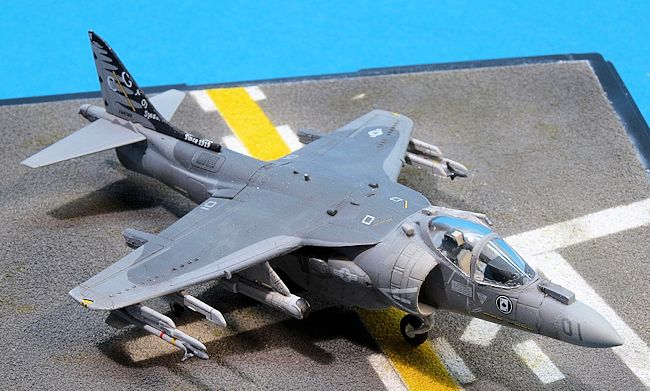
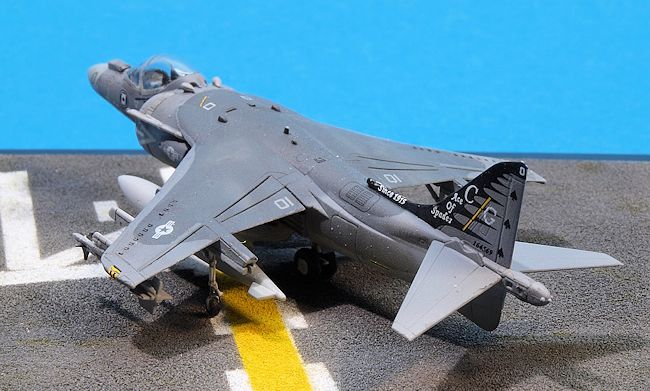
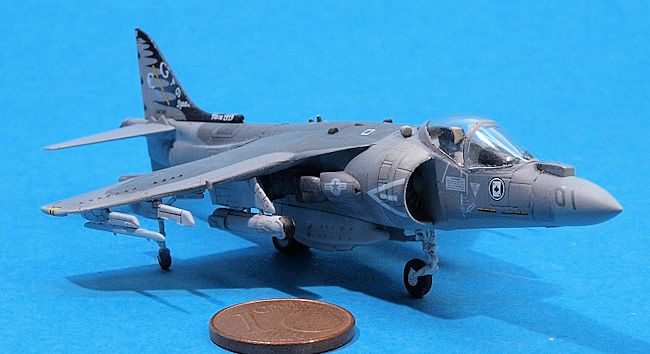
The subject plane is the end of a long development and comprises the current
version of the second generation of the originally British Harrier jet. At the
time, it is in the active inventories of the USMC and the Spanish and Italian
Navies. Its VTOL/STOL capability enables it to operate from smaller carriers and
assault ships. A varied and comprehensive weapons load can be carried.
The net abounds with info and videos on the plane; moreover, there is a very
neat book by Tim McLelland on the Harrier and its development and subtypes.
| THE KIT |
| CONSTRUCTION |
| COLORS AND MARKINGS |
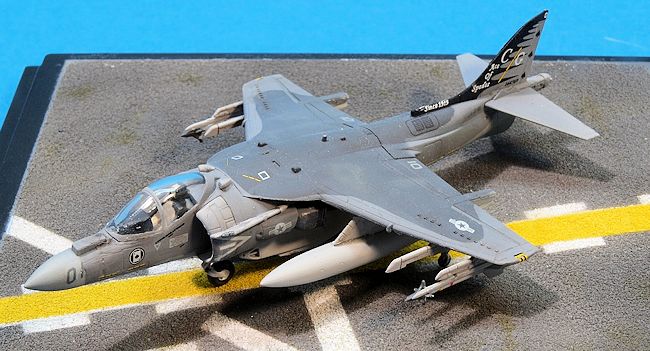
The decals sealed with a flat coat, I did some washing and some general scuffing
and weathering, though in a rather subdued way in order not to overdo it. YMMV.
I found the very finely done underwing pylons much benefited from the washing.
For washing, I use artist´s oils and Humbrol thinners. Moreover, some pastel
chalks were used.
| THE BASE |
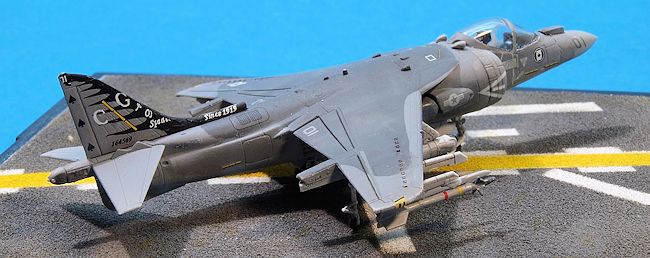 For improved display and storage, I bought a small Trumpeter display box. Its
display space was masked around the edges, and sprayed with gloss clear from a
rattle can. Onto the fresh and sticky paint fine sand was applied and the whole
thing let cure. That gave the coarse texture I wanted, simulating the anti-skid
coating on flight decks. Loosely based on current US assault ship markings,
I applied various lines in white and masked them. Now yellow was sprayed
and masked, and finally various shades of grey and brown. The masks removed,
some oil staining was applied to grunge up the surface a bit, and finally the
model glued to the base with flat-curing PVA glue.
For improved display and storage, I bought a small Trumpeter display box. Its
display space was masked around the edges, and sprayed with gloss clear from a
rattle can. Onto the fresh and sticky paint fine sand was applied and the whole
thing let cure. That gave the coarse texture I wanted, simulating the anti-skid
coating on flight decks. Loosely based on current US assault ship markings,
I applied various lines in white and masked them. Now yellow was sprayed
and masked, and finally various shades of grey and brown. The masks removed,
some oil staining was applied to grunge up the surface a bit, and finally the
model glued to the base with flat-curing PVA glue.
| CONCLUSIONS |
All in all this is an excellent kit that offers tremendous value for money (you see them for as cheap as 4 € here), fits well, is really buildable and results in a very nice-looking model.
April 2015
If you would like your product reviewed fairly and fairly quickly, please contact the editor or see other details in the Note to Contributors.