RS Models 1/72 XFL-1 Airabonita
| KIT #: | 92074 |
| PRICE: | $21.00 |
| DECALS: | One option |
| REVIEWER: | Peter Burstow |
| NOTES: | Short run kit |
| HISTORY |
Scott wrote a nice history in his
preview. Not much for me to add except that it
was based on the first XP-39, and has a smaller tail, shorter fuselage and
longer wing than a production P-39. So not just a hooked Airacobra.
| THE KIT |
 Coming in an end opening box, there are
35 parts moulded in soft grey plastic, with fine engraved detail. There is a lot
of detail on the parts including moulded seat belts. Why can't the major
manufacturers do this? There are a number of large ejector towers that will need
removed, these and the absence of locator pins are the only clue that this is a
short run low pressure moulding. There is a little flash, and some mould joint
lines visible on the smaller parts. There are no resin or PE parts provided.
Coming in an end opening box, there are
35 parts moulded in soft grey plastic, with fine engraved detail. There is a lot
of detail on the parts including moulded seat belts. Why can't the major
manufacturers do this? There are a number of large ejector towers that will need
removed, these and the absence of locator pins are the only clue that this is a
short run low pressure moulding. There is a little flash, and some mould joint
lines visible on the smaller parts. There are no resin or PE parts provided.
| CONSTRUCTION |
Started with the cockpit, 11 parts made it highly detailed, some parts were
small, including the separate rudder pedals. It all went together easily. I
painted the cockpit with the suggested zinc chromate, and then painted the
belts, instrument panel and other moulded details.
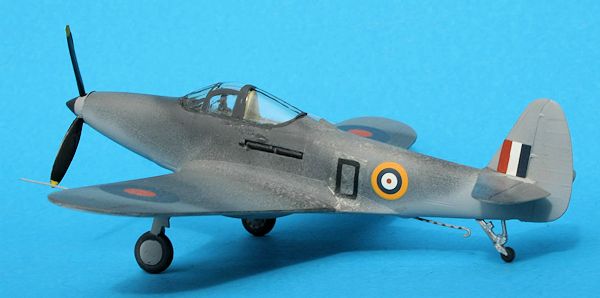
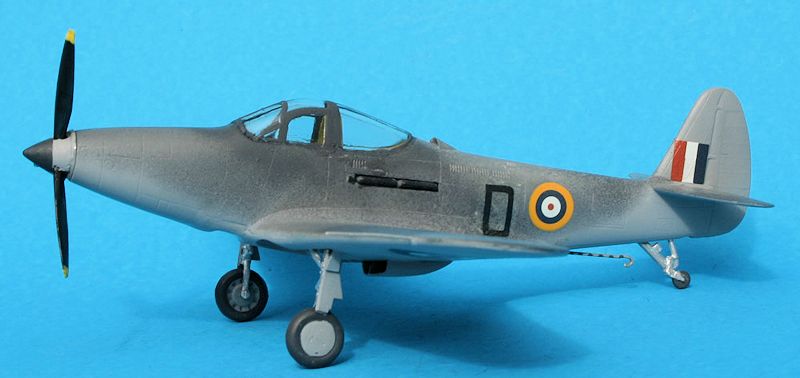
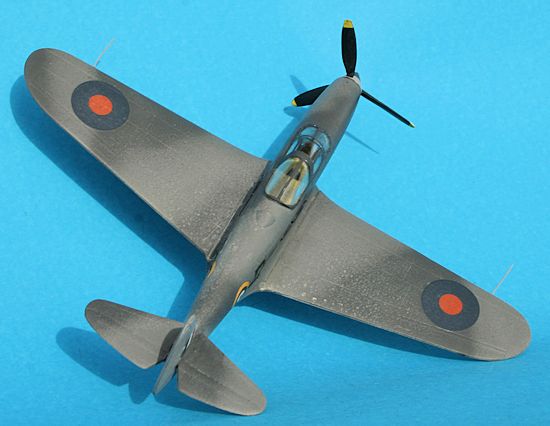
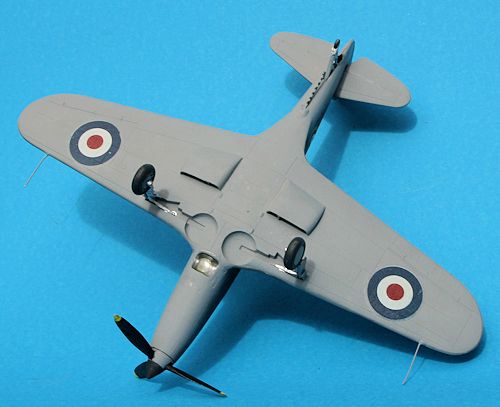
| COLORS & MARKINGS |
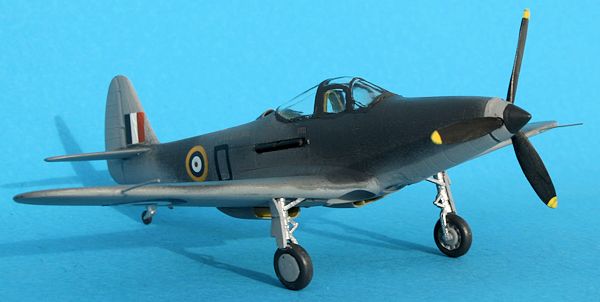 I decided on a Royal Navy version, grey, with grey and grey. The boxing of the
kit previewed including RN markings, as well as USN. My boxing being the
prototype. Used various roundels and fin flash decals from a Hasegawa generic
sheet. I used Ventura 24” black letters for the code, for some reason one of
them was very glossy and silvered a bit, the other was fine. Right next to each
other on the sheet. Gave the model a coat of very thin Tamiya buff to dull down
the markings. An overall spray with Testors Dullcote before proceeding.
I decided on a Royal Navy version, grey, with grey and grey. The boxing of the
kit previewed including RN markings, as well as USN. My boxing being the
prototype. Used various roundels and fin flash decals from a Hasegawa generic
sheet. I used Ventura 24” black letters for the code, for some reason one of
them was very glossy and silvered a bit, the other was fine. Right next to each
other on the sheet. Gave the model a coat of very thin Tamiya buff to dull down
the markings. An overall spray with Testors Dullcote before proceeding.
| CONCLUSIONS |
| REFERENCES |
 http://en.wikipedia.org/wiki/Bell_FL_Airabonita
July 2013
If you would like your product reviewed fairly and fairly quickly, please contact the editor or see other details in the Note to Contributors.