| KIT #: | 32054 |
| PRICE: | $69.00 SRP |
| DECALS: | Five options |
| REVIEWER: | Chris Peachment |
| NOTES: | Includes photo etch |
| HISTORY |
A single seat biplane of two bay construction, the Snipe hardly saw action in
WWI, coming into squadron service only a few months before the armistice in
1918.
While it was not especially fast, it did have a high rate of climb and very good
manoeuvrability, so the RAF used it as their postwar fighter until 1926.
Designed to replace the Camel, it was at first a single bay biplane,
smaller than the Camel, and powered by a similar engine.
The pilot sat higher than in the Camel and the centre of the upper wing was
uncovered, giving a better view. The second prototype had a more powerful
Bentley engine of 230hp.
It was then rebuilt with longer span two bay wings which allowed it to compete
as a high altitude single-seat fighter. This specification required a speed of
at least 135mph at 15,000 ft, a ceiling of at least 25,000
 ft while carrying an
armament of two fixed and one swivelling machine gun. An oxygen supply and
heated clothing were provided for the pilot.
ft while carrying an
armament of two fixed and one swivelling machine gun. An oxygen supply and
heated clothing were provided for the pilot.
The Snipe was tested against three other fighter prototypes, also powered by the
Bentley engine: the Austin Osprey, the Boulton Paul Bobolink and the Nieuport BN
1. There was little difference in performance between the aircraft, but the
Sopwith was selected because it was cheaper, and orders for 1,700 Snipes placed
in March 1918.
The Snipe was heavier but stronger than earlier Sopwiths.
Although not a fast aircraft for 1918, it was very manoeuverable, and
easier to handle than the Camel, with a better view, forwards and upwards. Its
fixed armament was two 0.303 machine guns, and it was also able to carry up to
four 25lb bombs for ground attack. The design allowed for a single Lewis gun on
the centre section, similar to the Dolphin, though this was never fitted.
Production ended in 1919, with 500 built, the rest being cancelled. An armoured
version for trench fighting was the Sopwith Salamander.
In 1919, the Snipe took part on the side of the White Russians during the
Civil War against the Bolsheviks, with 12 of them used by the RAF mission
in north Russia.
At least one of was captured and used by the Bolsheviks.
The last Snipes were retired from service in 1926.
| THE KIT |
| CONSTRUCTION |
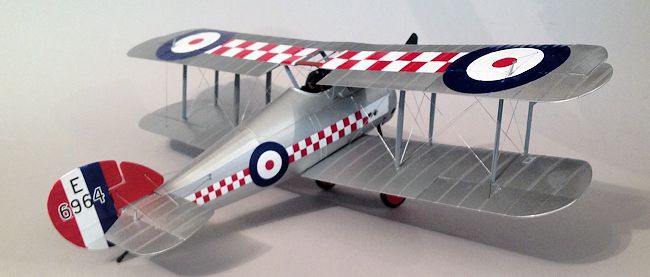
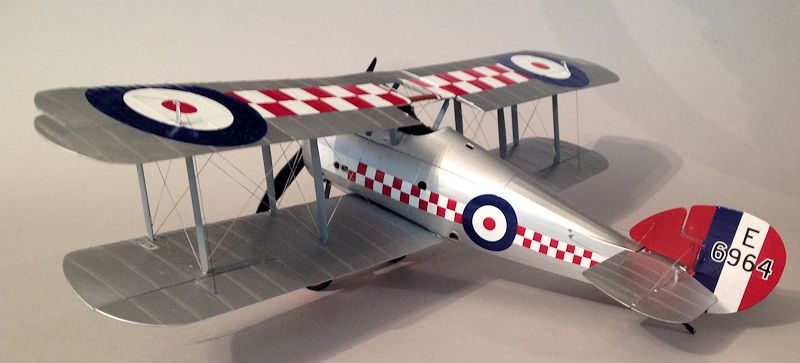
| COLORS & MARKINGS |
| FINAL CONSTRUCTION |
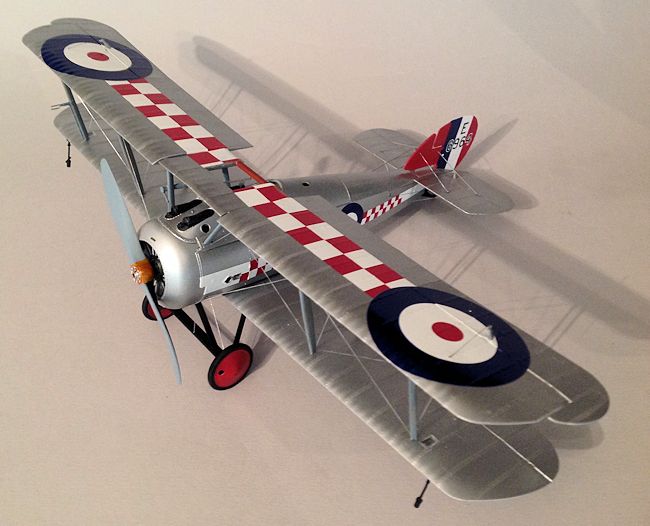
Then the lower wing is fixed to the fuselage,
and the struts addressed. They are all painted grey, which certainly saves time
by not having to give them a wood effect. They also fit well into their locating
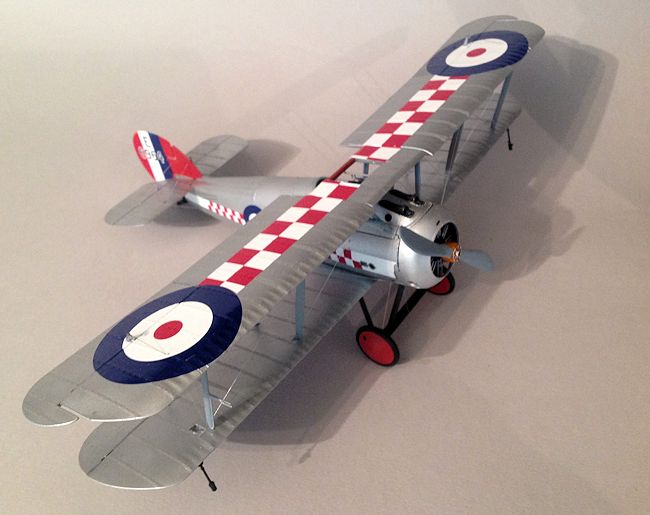
holes at exactly the right angle. I started with the cabanes, mounted the top
wing on those, then snap fitted the rest of the struts into place, after placing
some glue in each mounting hole with a toothpick. It now looks like an aircraft.
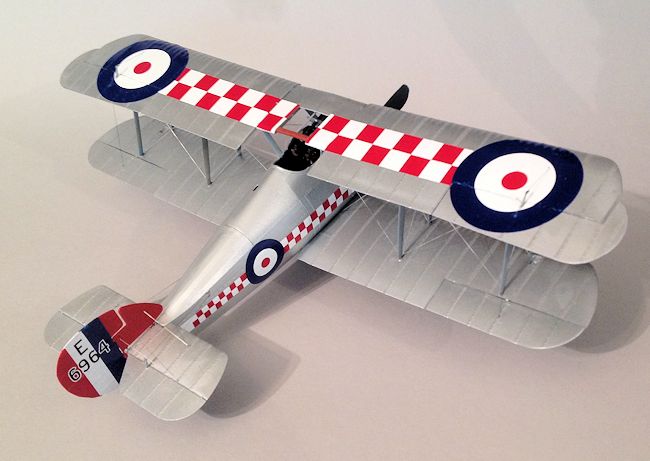
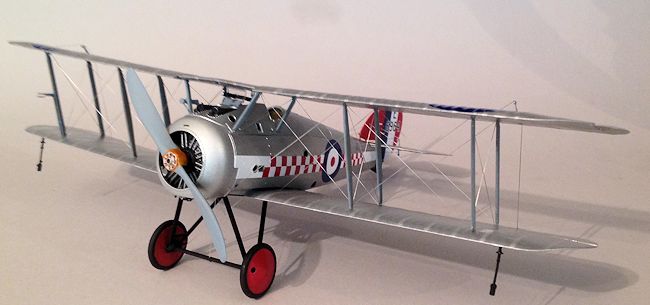
Then the
undercarriage was fitted. Something I have noted before about Wingnut Wing
models is that they wobble on their wheels in an alarming manner when nudged. In
fact they are not fragile, because the undercarriage mounting tabs are very long
and fit deep inside the fuselage, making for a strong set up. It is just that
the plastic is soft and bendy. Hence the wobble. And the answer to that is:
don't nudge them. The wheels come with separate hub
caps, which is always a useful idea and means you can get clear demarcation
between hub and tyre. I wish that all wheels came like this in 1/72.
| CONCLUSIONS |
Enough ink has already been spilled about how
good these kits are, and certainly it is all justified.
I would say that even a beginner would turn out a very creditable model.
Had I known that the decals were going to play up, I would have chosen a
different set of markings, perhaps the one in Soviet markings, which is olive
drab and has the name Nelly on it. Which doesn't sound very Russian, but was
perhaps left over from some previous love-lorn western front pilot.
The most heartening thing is that Wingnut seem
to be moving out of WWI and into the early 20s with this kit. I wonder if this
points toward a wider range in the future. I certainly hope so because the 20s
and 30s are poorly covered by mainstream kit makers.
A Siskin or a Bulldog or a Grebe would be very welcome. As would anything
civilian. It was after all the Golden Age of aviation, but it is not nearly
celebrated enough.
| REFERENCES |
http://thevintageaviator.co.nz/projects/aircraft/sopwith-snipe
http://www.aviastar.org/air/england/sopwith_snipe.php
http://www.wingnutwings.com/ww/productdetail?productid=3087&cat=3
http://www.airliners.net/photo/Sopwith-Snipe-(replica)/2077227/
https://www.flickr.com/photos/theguitarsmith/8145698111/
August 2014
Copyright ModelingMadness.com. All rights reserved. No reproduction in any form without express permission from the editor. If you would like your product reviewed fairly and
fairly quickly, please
contact
the editor or see other details in the
Note to
Contributors.