| KIT #: | 72010 |
| PRICE: | £10 second hand |
| DECALS: | Two options |
| REVIEWER: | Chris Peachment |
| NOTES: | Resin kit |
| HISTORY |
 It
had a 135 hp. Thomas engine. Subsequent models included the V-1, with a 140hp
Sturtevant, V-2 with a 165 Hall Scott with a radiator under the upper wing, and
V-3 with a 200hp Sturtevant. One Model V-2 used to test the first 8 cylinder
Liberty engine. The aircraft had a monocoque fuselage made of wood and fabric.
It
had a 135 hp. Thomas engine. Subsequent models included the V-1, with a 140hp
Sturtevant, V-2 with a 165 Hall Scott with a radiator under the upper wing, and
V-3 with a 200hp Sturtevant. One Model V-2 used to test the first 8 cylinder
Liberty engine. The aircraft had a monocoque fuselage made of wood and fabric.
At
the end of the war, a Czechoslovakian delegation came to the US to buy aircraft
for their forces fighting with the
White Russians against the Communist Red Army. They ordered aircraft from LWF,
and were expecting more modern types, but LWF shipped 28 old Model
Vs, which were duly assembled and used by the Czechs in their battles
across Russia and Siberia in 1919-20. They all ending up in Vladivostok, and
were then shipped back to Czechoslovakia.
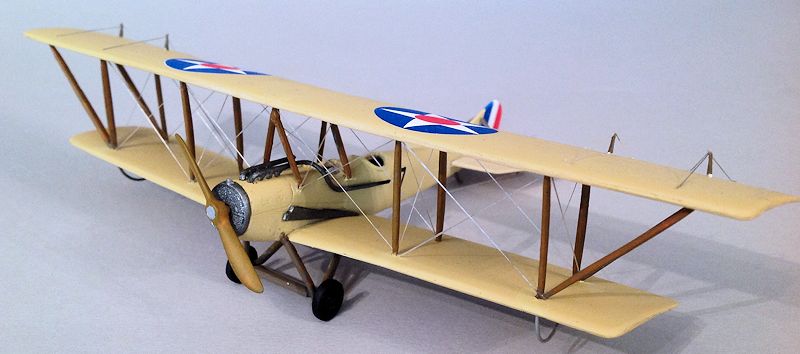
One aircraft is currently displayed in the National Technical Museum in Prague, carrying US markings on the wings and Czech tail stripes. Good photos are on websites listed below.
| THE KIT |
 I
bought this from under the table of a dealer at a modelling show, mainly out of
curiosity because I knew little of the
aircraft, and one of the reasons I make models is to learn about
different types and their history. And it was cheap for a resin kit, which is
always a bonus in these straitened times. The mouldings are clean and don't
suffer from all the air holes I keep reading about. But the parts did need a lot
of separating from their sprues and resin flash, and then much cleaning up by
way of sanding seams. Once done, you will find the parts fit well, and the
surfaces have a pleasing rough texture to them, which replicates fabric well.
I
bought this from under the table of a dealer at a modelling show, mainly out of
curiosity because I knew little of the
aircraft, and one of the reasons I make models is to learn about
different types and their history. And it was cheap for a resin kit, which is
always a bonus in these straitened times. The mouldings are clean and don't
suffer from all the air holes I keep reading about. But the parts did need a lot
of separating from their sprues and resin flash, and then much cleaning up by
way of sanding seams. Once done, you will find the parts fit well, and the
surfaces have a pleasing rough texture to them, which replicates fabric well.
| CONSTRUCTION |
This
is only the second resin kit I have tried, and the previous one, a Vautour
French bomber, was straightforward compared to this. What I don't like about
them is having to use superglue, which is nasty stuff. It sets too quickly to
get alignment right, and this makes life tricky for a two bay biplane with
plenty of struts. And it glues your fingertips together, which is no aid to
modelling though may enrich your doctor. Plenty of warm water and prising apart
with a spoon handle is recommended, but you still end up with fingers like
sanding sticks. I sanded down the tailplanes with fingertips alone, thus making
a good saving on wet and dry paper.
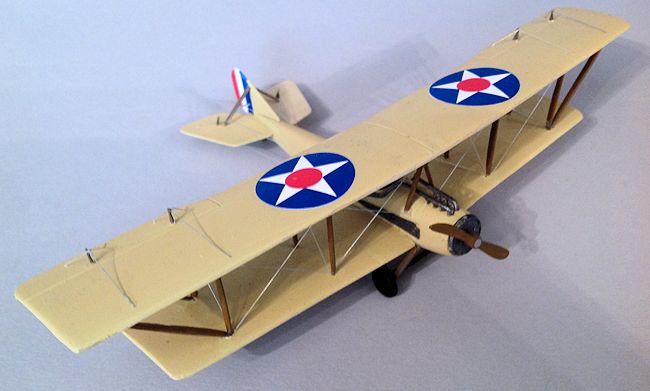 The
interior is bare apart from floor, seats and sticks, and rudimentary instrument
panels. You might want to go to town here, as the rear cockpit is fairly
visible.
The
interior is bare apart from floor, seats and sticks, and rudimentary instrument
panels. You might want to go to town here, as the rear cockpit is fairly
visible.
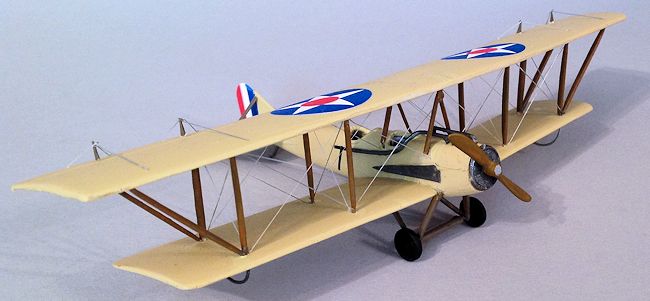
You
might note in the photos that the Prague machine is heavily weathered. I
wondered whether to rub some dark brown powder all over the model, but then
remembered that what I always end up with is a badly painted model and not a
weathered one. So this one has just left the factory, which they all must have
done at some time in their lives.
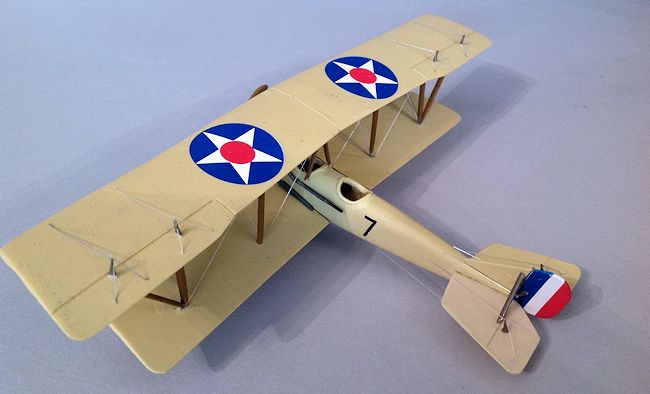
The
cabanes proved a problem as they are moulded in one piece and the two vee-struts
are set too close together, to fit over the fuselage. Dry fitting resulted in
both snapping like dry wishbones. I soldiered on by re-gluing them at a wider
angle, but would have done better to replace them with styrene strut.
After
that, the top wing fitted surprisingly well. I found it best to glue the two
outer sets of struts in place, then gently spring the others into place. The
outer pair of slanted struts can be added last.
 Rigging was done by my usual method. Elastic thread, coloured silver from a
gel pen, then anchored with small drops of superglue from a sharpened
toothpick. And that is a five second sentence describing two hours work.
Rigging was done by my usual method. Elastic thread, coloured silver from a
gel pen, then anchored with small drops of superglue from a sharpened
toothpick. And that is a five second sentence describing two hours work.
One
distinctive feature are the exhaust pipes which emerge upwards from the engine
cowl, then swoop down in an elegant curve through the cabanes. Again, the fit
was surprisingly good and need little coaxing. They are gunmetal, with some dark
rust here and there.
Another distinctive feature are those two beams on either side, flanking the
engine. I cannot make out what they are. They seem to be in the wrong place to
be engine bearers, and would hardly be uncovered if they were. Perhaps they are
some bizarre frame strengthening which was found necessary after test flight.
Anyway, they are gunmetal too, as is the front radiator.
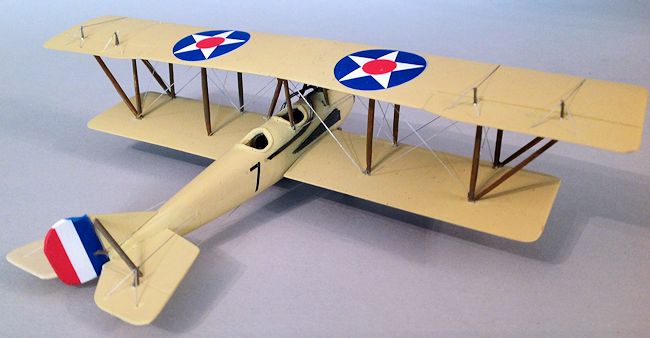
The
fin marking should be applied now, and then the tailplanes. These are fragile
and I lost count of the times I knocked them off while handling. It is best to
get those support struts on as soon as possible to lend a little strength. But
it is a problem endemic to resin kits held with superglue. They will explode
like grenades at the slightest knock. And offer up their innards to the carpet
monster and the cat.
I
don't have carpets, preferring varnished boards, but they still manage to feast
on my lost struts which never reappear.
| CONCLUSIONS |
Perhaps I will come to love resin, but, as St Augustine begged in his
Confessions, 'make me good, Lord, but just not yet'. It is much cruder than
polystyrene and its flaws are evident wherever I look.
True, like all my failings, it is nothing but my own fault for not having
prepared each piece properly by scraping and sanding. But as the autumn of my
years is now well set in, and winter approaches, so time becomes more precious.
So many aircraft, so few models of them.
| REFERENCES |
http://wp.scn.ru/en/ww1/o/1699/104/0
October 2014
If you would like your product reviewed fairly and fairly quickly, please contact the editor or see other details in the Note to Contributors.