Kitty Hawk
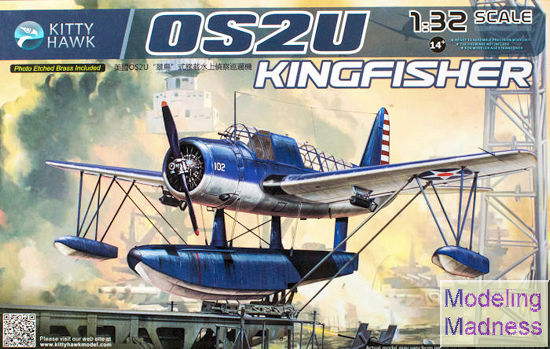
1/32 OS2U Kingfisher
|
KIT #: |
KH 32016 |
|
PRICE: |
$99.00 SRP |
|
DECALS: |
Six options |
|
REVIEWER: |
Scott Van Aken |
|
NOTES: |
New tool kit with photo etch parts |
The Vought OS2U Kingfisher was an
American
catapult-launched observation
floatplane.
It was a compact mid-wing
monoplane,
with a large central float and small stabilizing floats. Performance was modest,
because of its light
engine. The OS2U could also operate on fixed, wheeled,
taildragger landing gear.
The OS2U was the main shipboard observation
aircraft
used by the
United States Navy during
World
War II, and 1,519 of the aircraft were built. It served on
battleships and
cruisers of
the US Navy, with the
United States Marine Corps in Marine Scouting Squadron Three (VMS-3), with
the
United States Coast Guard at coastal air stations, at sea with the
Fleet Air Arm of the
Royal Navy,
and with the
Soviet
Navy. The
Royal Australian Air Force also operated a few Kingfishers from shore bases.
The Naval Aircraft Factory OS2N was the designation of the OS2U-3 aircraft
built by the Naval Aircraft Factory in
Philadelphia, Pennsylvania. The OS2U first flew on 1 March 1938.
 There have been a lot of people wanting a Kingfisher in this scale and
now we have one. The box does not state which variant is being kitted, but
for all practical purposes, it does not matter as the differences were
mainly internal and consisted of upgraded engines. Most of the Kingfishers
built were the OS2U-3, and that is how we'll treat this kit.
There have been a lot of people wanting a Kingfisher in this scale and
now we have one. The box does not state which variant is being kitted, but
for all practical purposes, it does not matter as the differences were
mainly internal and consisted of upgraded engines. Most of the Kingfishers
built were the OS2U-3, and that is how we'll treat this kit.
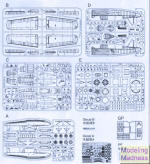
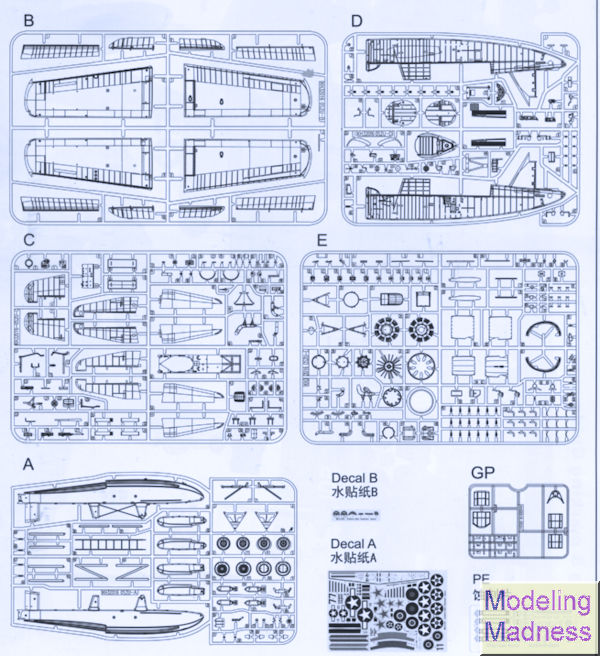
The first thing I do with a kit is to look over the sprues. This one is no
different in terms of surface detail from their earlier releases, which is
to say it is excellent. I've gotten used to the small engraved rivet detail
that kit makers use and it is no longer a source of anguish. I also look for
sink areas (none found) and possible issues with ejector pin marks or
towers. I did find a few parts with the towers including the engine cylinder
halves and wheel halves so that will require some careful clean up. The only
obvious area where ejector pin marks will be an issue is on the cockpit rear
bulkhead where there are several on the head cushion area that will be
nearly impossible to easily correct.
You would expect a lot of detail in a 1/32 kit and you get it. The engine
alone with its individual exhaust stacks leading into a collector will take
up the first page of the instructions. The pushrod piece will prove to be a
challenge to remove from the sprue as the attachment points are down in
between individual pushrods. There is a full accessory section containing
oil and fuel tanks that fits behind the engine. On the back side of this is
the instrument panel and gun butt. Kitty Hawk offers decals for the
instrument panel and side consoles if you wish to use it.
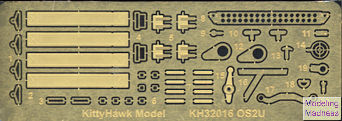 The
interior itself is quite detailed and it is here that you'll find pretty
much all the photo etch. This includes harnesses that you build up with the
flat belts and individual buckles. If done right, this makes for a most
realistic representation. There is a rear machine gun and the front of the
'turret' uses part of the photo etch as well. Apparently the gunner was not
belted in. In addition there is a full radio suite as well as the other
usual braces and mounts. With most of the radios under a rear shelf, I'm not
sure how much will be seen, but you'll now it is there.
The
interior itself is quite detailed and it is here that you'll find pretty
much all the photo etch. This includes harnesses that you build up with the
flat belts and individual buckles. If done right, this makes for a most
realistic representation. There is a rear machine gun and the front of the
'turret' uses part of the photo etch as well. Apparently the gunner was not
belted in. In addition there is a full radio suite as well as the other
usual braces and mounts. With most of the radios under a rear shelf, I'm not
sure how much will be seen, but you'll now it is there.
One can build the kit as either a float plane or land plane as the
Kingfisher was operated both ways. But first, one needs to attach a goodly
number of bits and pieces to the inside of the fuselage including a partial
floor for the guy in back. There are also a number of bits to attch to the
outside of the fuselage including what looks like maintenance stands around
the engine. I'd check references to see if these are required or not. The
kit instructions show all the engine panels being attached, which sort of
negates the purpose of all that detail in the engine compartment.
Wings are upper and lower halves on each side with two piece ailerons and
flaps that fit in the back. A rather solid looking wing attachment piece is
trapped between the wing halves as well. Also in upper and lower halves are
the rudder, elevators and horizontal stabilizers. From what I gather looking
at photos, the control surfaces were normally in the neutral position,
probably via a lock of some sort. Makes sense as you wouldn't want these
flopping around during strong winds or heavy seas.
Hopefully you decided early in the build if you want floats or wheels and
figure out what holes to open as frankly, the instructions don't tell you.
For the floats the attachment points are quite small and frankly, I would
have thought that something more robust would have been provided. This lack
of info on hole opening includes those for the bomb racks. Bea ching
gear is provided and the large mounting holes are already provided for this
feature.
ching
gear is provided and the large mounting holes are already provided for this
feature.
Instructions are well drawn and provide painting information, though are, as
mentioned, totally lacking in information on opening holes for wheels,
floats or bomb racks. Shows the importance of reading the instructions
through before starting assembly. Markings come on a huge decal sheet along
with a smaller one. There are markings for no fewer than six aircraft. Two
of them are pre-war yellow wing planes for aircraft carried on the USS
Arizona (floats) and a wheeled version from the USS Pennsylvania. The box
art plane is listed as meing with NAS Corpus Christi in 1942 so was not
involved in the Pearl Harbor raid. This one is shown as being light blue
over white. Probably not. Probably blue-grey over light gull grey. In fact,
several of the color callouts for the camo schemes are questionable, so I'd
recommend research. For instance there is a plane with insignia not used
until after September 1943 that is listed as 1941. This option does not even
provide an upper surface color reference and shows the underside as white.
Another is a Soviet plane in a very light grey over white, while the final
option is a British Kingfisher I in dark green/medium sea grey over hemp (a
color that did not exist until the late 1980s). Clearly whomever does
markings research at Kitty Hawk needs to be transferred to another job. The
decals themselves are very nicely printed and should prove to be both opaque
and extremely thin. I'm sure most will gravitate towards the yellow wings
options as they are both very colorful.
Fans of this aircraft have been clamoring for one in 1/32 scale for a very long
time. I have no idea how accurate the kit is as I know that the Monogram 1/48
version suffers from a float that is the wrong length. Aside from the issues
with the instructions and camo info, this one looks like it will be a real
beauty when completed. I would not doubt at all if there are aftermarket
markings on the way, but really, the kit decals provide an excellent selection
of options.
https://en.wikipedia.org/wiki/Vought_OS2U_Kingfisher
December 2015
Thanks to Kitty Hawk Models and Glen Coleman for the preview
kit. You can get or at least order yours at your local retailer.
If you would like your product reviewed fairly and quickly, please
contact the editor
or see other details in the
Note to
Contributors.
Back to the Main Page
Back to the Previews Index Page
 There have been a lot of people wanting a Kingfisher in this scale and
now we have one. The box does not state which variant is being kitted, but
for all practical purposes, it does not matter as the differences were
mainly internal and consisted of upgraded engines. Most of the Kingfishers
built were the OS2U-3, and that is how we'll treat this kit.
There have been a lot of people wanting a Kingfisher in this scale and
now we have one. The box does not state which variant is being kitted, but
for all practical purposes, it does not matter as the differences were
mainly internal and consisted of upgraded engines. Most of the Kingfishers
built were the OS2U-3, and that is how we'll treat this kit.