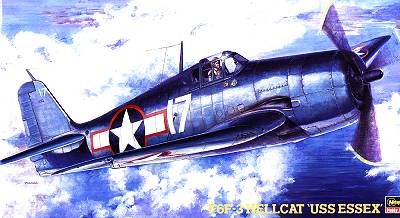
Hasegawa 1/48 F6F-3 Hellcat
Kit Number: JT 34
Price: MSRP $31.98
Decals: Two aircraft; both with red surround insignia.
Date of Review: 4 January, 1998
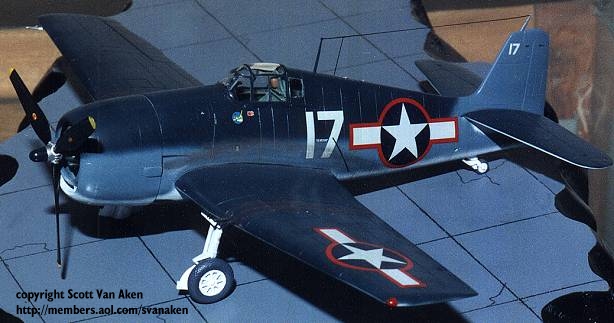
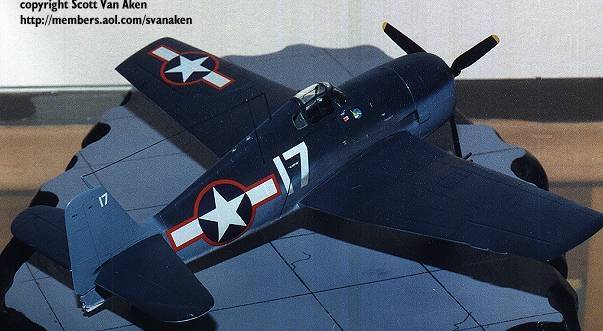
Review and photos by: Scott Van Aken
The F6F Hellcat was designed specifically to combat Japan's A6M Zero. Maneuverability and excess power were built into the design as were a heavy armament of 6 50
caliber machine guns and good survivability. The F6F shot down more Japanese planes and made more aces than any other aircraft in the Pacific war. It was a remarkably stable design, differing little from the XF6F-1 to the final F6F-5. Once the war was over, the Hellcat rapidly disappeared from service, its job being taken by later variants of the F4U Corsair.
Hasegawa's kit is typical of a modern Japanese model. It is in medium grey with superb detail work and excellent engineering. As with all kits of this genre, there was very little use of putty or other fillers, except to fix errors made by the builder. There are two areas to be watched. One is the installation of the engine on the fuselage. Ensure it is properly square by much dry fitting of the cowling prior to the cement drying or you will have an off-center prop blade. The other area is the wing/fuselage join. You may have to use a spreader bar to get the front or rear to properly align. I used one in the front.
The rest of the kit is really a no brainer. The one thing I would have liked to have seen for my money is a canopy that you can portray in the open position. Other kit makers manage to do this, why does Hasegawa have such trouble?
 You might even be able to make an early -5 from this kit by not putting on the bumps near the exhaust on the cowling. A late -3 can be built by using a -5 canopy. I would have liked to have seen both versions available in the same kit, but that is not the way it is done nowadays. I did use the kit decals and found them to be very well done indeed. The white area is properly opaque although they are not really white but a light cream color. You will notice this when you put the underwing insignia on the white underside.
For paint, I used three different brands. Testor's Modelmaster for the underside white, Xtracolor for the medium blue, and Humbrol gloss for the sea blue. I had no problems with any of the paints and having them dry gloss makes it easier to do a silver-free decals job. The kit was dulled with Future mixed with Tamiya flat. Once the tape was taken off the clear bits, and the antenna installed, pastels were used for exhaust and gun stains.
A great kit that is highly recommended. Just as an aside, if you have the 20+ year old Arii/Otaki F6F kit, don't toss it. You can make a replica that is nearly as good for less than half the cost. In addition, it has a more accurage cowling. Just because a kit is newer doesn't mean it is that much better.
Copyright ModelingMadness.com. All rights reserved. No reproductio in part or in whole without express permission from the editor.