|
KIT: |
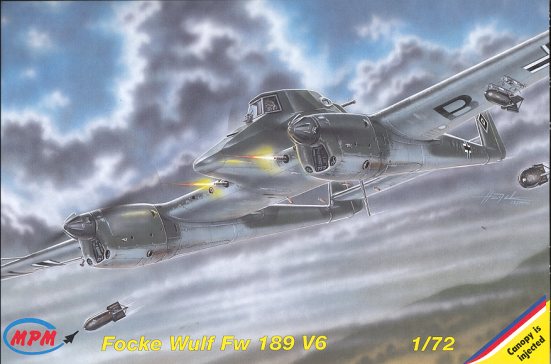
MPM 1/72 FW-189v6 |
|
KIT # |
72516 |
|
PRICE: |
$ |
|
DECALS: |
One aircraft |
|
REVIEWER: |
|
|
NOTES: |
|
HISTORY |
In the late 1930's the RLM offered a requirement for a close support aircraft. Two of the entrants for that specification were the Hs-129 and a variant of the FW-189. The 189 had already been chosen for a battlefield reconnaissance aircraft over the BV-141. So Focke-Wulf modified the FW-189v1 with an entirely new center section. This center section was basically an armored tub in which the pilot sat. He saw out a very small armored window. Behind him there was a small space for a defensive gunner and his single machine gun. Offensive armament was to consist of various machine guns and small-bore cannon. The problem with the now-redesignated FW-189v1b was that it was overweight. The aircraft was really underpowered. However, this also plagued the competing HS-129v1.
With the crash of the FW-189v1b, the center section design was incorporated into a replacement aircraft; the FW-189v6. This was armed with four 7.9mm and two 20mm guns in the wing with twin 7.9mm guns for the gunner. Unfortunately, the plane was still too heavy for its Argus engines. Despite all attempts at decreasing weight, the much lighter (and cheaper to build) Hs-129 was declared the winner of the competition and the FW-189v6 faded into history.
|
THE KIT |
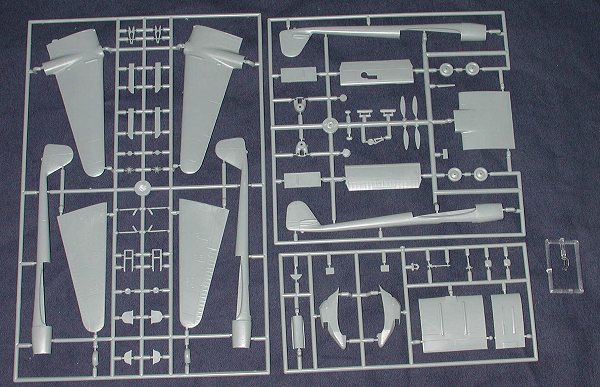
This is a 'modification' of the earlier FW-189 'Flying Owl' that was released by MPM a while back. The biggest change is a new wing center section that incorporates the armored tub. This is on a separate sprue from the rest of the kit. An interesting omission is that there are no gun holes in the leading edge of the new wing and the rear gunner is only provided a single gun instead of the twin that the v6 was alleged to have. However, this can be fixed by some drilling and scrounging in the parts bin should you so wish. Because of the smallness of the windscreen, I'm surprised that there is actually an interior given. However, one is provided, though I seriously doubt if you'll be able to see anything once the 'fuselage' is assembled. You will also be asked to cut a hole in the new upper wing center section so that the interior floor will fit. Dimensions are given in the instructions.
Detailing on the rest of the kit is quite good. None of the parts are marred by ejector pin marks and there was literally no flash on any pieces that could see. Because it is not an entirely new mold, it has separate prop blades that will need to fit onto a rather small prop hub. Other than that, the kit is quite straight-forward in construction. Interestingly, there is detail in the tail wheel 'well', but none for the main gear. Should be easy to make some if you are so inclined.
 Instructions are
quite good giving the usual construction steps. There are detail sections given
where applicable. Colors are given along with Humbrol paint numbers and RLM /FS
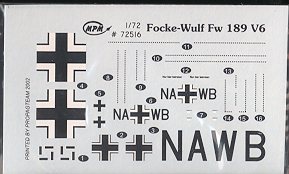
references where required. The decals consist of just insignia and radio call
numbers. All quite appropriate for a prototype. Those with a 'what if' bend will
be able to apply code letters and unit insignia for their favorite units. As
usual, the swastikas are in sections, but at least they are provided. The decals
are by Propagteam and so will undoubtedly prove to be superbly thin and opaque.
Be ready with the masking tape as it is a splinter camouflage of RLM 70/71/65, a
typical scheme for Luftwaffe aircraft of the period.
Instructions are
quite good giving the usual construction steps. There are detail sections given
where applicable. Colors are given along with Humbrol paint numbers and RLM /FS
references where required. The decals consist of just insignia and radio call
numbers. All quite appropriate for a prototype. Those with a 'what if' bend will
be able to apply code letters and unit insignia for their favorite units. As
usual, the swastikas are in sections, but at least they are provided. The decals
are by Propagteam and so will undoubtedly prove to be superbly thin and opaque.
Be ready with the masking tape as it is a splinter camouflage of RLM 70/71/65, a
typical scheme for Luftwaffe aircraft of the period.
|
CONCLUSIONS |
Thanks to MPM and other companies, we can get a chance to build some really unusual and prototype aircraft that would have required either a resin conversion or scratch-building. The kit appears to be pretty simple to build without any undue problems. No resin or vac bits means that normal modeling skills will be more than adequate for a good build.
Review kit courtesy of
 . Thank you for your
support.
. Thank you for your
support.
If you would like your product reviewed fairly and quickly where it will be seen by well over 150,000 visitors a month, please contact me or see other details in the Note to Contributors.