| KIT #: | AM 7202 |
| PRICE: | $18.95 from http://www.scale-model-kits.com |
| DECALS: | One option |
| REVIEWER: | Scott Van Aken |
| NOTES: | Short run kit |
| HISTORY |
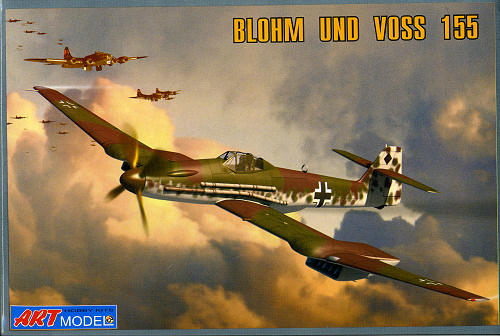
Originally the Me-155, a proposed carrier-borne fighter, the project stalled out with the cancellation of Germany's aircraft carrier and was switched to being a high altitude fighter. As Messerschmitt already had more work than it could handle, the project was moved to Blohm und Voss, who, with the assistance of the Messerschmitt design team, continued work. The B&V engineers felt that the Messerschmitt design had too many weakness and after months of incrimination and finger pointing, the RLM was asked to step in to stop the feud and the project was fully transferred to B&V and renamed the Bv-155A. Since there were so many problems with the Bv-155A, a major redesign was undertaken and this led to the Bv-155B.
For the Bv-155B, the Blohm & Voss team elected to adopt a laminar-flow airfoil section, and abandoned the idea of using standard Bf 109G wings for the outer panels. The wing center section was redesigned. Two large radiators were mounted over the wing trailing edges at the extremities of the center section. Ju 87D-6 undercarriage legs and wheels used instead of the Bf 109G units. The Bf 109G horizontal tail surfaces were replaced with larger area freshly-designed units, and the vertical tail surface was increased in size.
The first prototype was designated BV 155V1, and flew for the first time on September 1 1944. Tests with the V1 showed that the outboard radiators were not sufficiently effective in providing cooling, especially at high angles of attack. The intakes on the next prototype were enlarged and underslung beneath the wing rather than placed over it. However, the enlarged radiators caused a CoG problem, which required moving the pressurized cockpit forward. The Blohm & Voss team took this opportunity to replace the original Bf 109G canopy with an aft-sliding all-round vision canopy, and the rear fuselage decking was cut down. This in turn required that a larger rudder be fitted. The ventral radiator bath was also enlarged.
All these changes were incorporated into the BV 155 V2, which flew for the first time on February 8, 1945. which was the first genuine B series aircraft. The Blohm & Voss team was still not satisfied with the design, and before the V2 began its flight trials they proposed that the engine be switched to the DB 603U having the larger mechanically-driven supercharger of the DB 603E. The DB 603U promised a power of 1,238 kW (1,660 hp) for takeoff and 1,066 kW (1,430 hp) at 14,935 m (49,000 ft). The ventral turbosupercharger was retained. The Technische Amt decided to accept this proposal, and abandoned all work on the BV 155B in favor of the revised design, which was designated BV 155C.
| THE KIT |
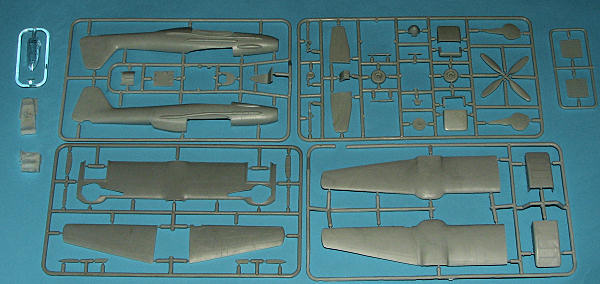 This
is the fourth 1/72 Bv-155v2 that I know about. The first was a
Wings '72
vac that your editor built as one of his first
full vacuformed kit. Later, another was released by Pegasus and then by MPM. This is the
fourth and from what I see in the
box, this may well be the best yet.
This
is the fourth 1/72 Bv-155v2 that I know about. The first was a
Wings '72
vac that your editor built as one of his first
full vacuformed kit. Later, another was released by Pegasus and then by MPM. This is the
fourth and from what I see in the
box, this may well be the best yet.
 shouldn't
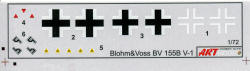
have any trouble as they are clearly printed. Color information is by RLM
and Humbrol paint numbers. I have to question the use of H86 (matt olive)
for the inside of the gear wells and the landing gear struts. I'd think RLM
02 would still be the one to use or even unpainted aluminum. There is a
color decal and painting guide which shows the inner gear doors and wells as
a 'matt wine'. The rest of the airframe is RLM 81/82/76 with mottling. Just
basic stencils and insignia on this one. Decals are nicely done and should
work fine.
shouldn't
have any trouble as they are clearly printed. Color information is by RLM
and Humbrol paint numbers. I have to question the use of H86 (matt olive)
for the inside of the gear wells and the landing gear struts. I'd think RLM
02 would still be the one to use or even unpainted aluminum. There is a
color decal and painting guide which shows the inner gear doors and wells as
a 'matt wine'. The rest of the airframe is RLM 81/82/76 with mottling. Just
basic stencils and insignia on this one. Decals are nicely done and should
work fine.
| CONCLUSIONS |
For those of us who like the unusual or prototype aircraft, then this is one that you should add to your collection. The 'Luft 46' and whiffer crowd will find this of interest as well.
| REFERENCES |
http://en.wikipedia.org
June 2009 Thanks to
http://www.scale-model-kits.com
for the preview kit. Get yours from the link at a discount. If you would like your product reviewed fairly and quickly, please
contact
me or see other details in the
Note to
Contributors.