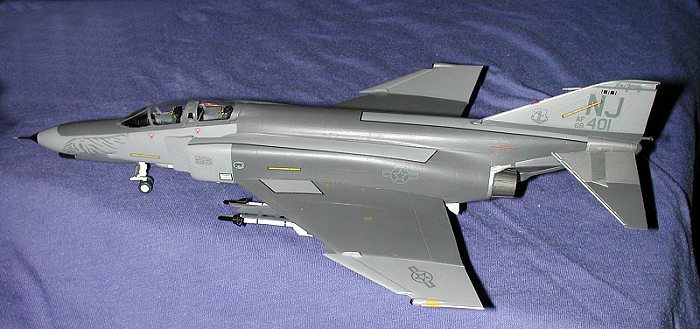
Uh-Oh!
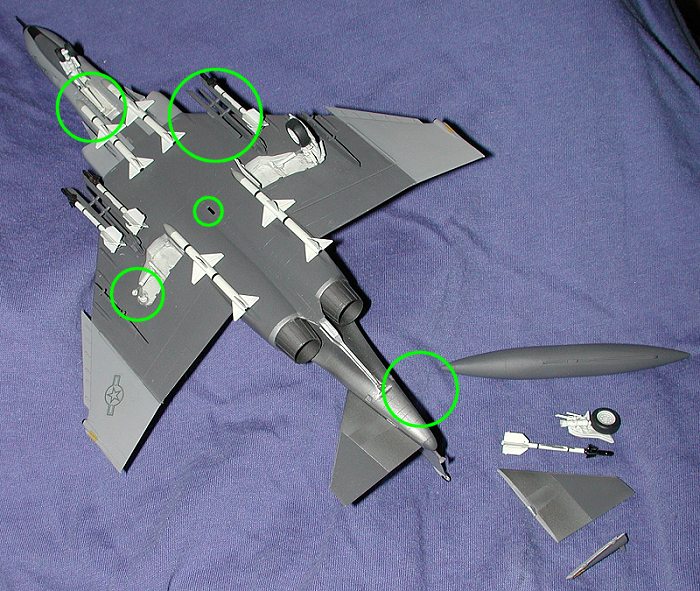
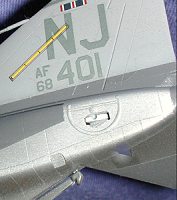
I have heard it and said it a number of times in my modeling experience. It can mean major disaster or a minor goof, but if you have moved as much as I have, it usually is the result of looking at a kit that has shed some parts. In this case, a Fujimi 1/72 F-4E, the kit has shed a nose gear door, sidewinder, drop tank, right main landing gear and left stabilizer. Getting old friends like this back together is something that most of us want to do rather than chuck it in the trash. Sure, it will no longer be a contest winner, but it belongs on the shelf with its buddies.
Generally, a touch of glue and it is all better. Sometimes, the part has been broken so many times, (as is the case of the main gear and stabilizer on this model) that glue just isn't enough. Well fret not as there is a simple and cheap way of fixing it.
 All
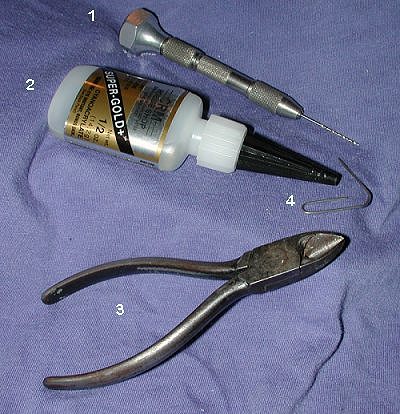
you need are four items that are probably already in your toolbox:
All
you need are four items that are probably already in your toolbox:
1. A drill bit and handle
2. A tube of superglue
3. A pair of cutters
4. A paper clip
If you want to speed up the drying time of the superglue, then some superglue accelerator wouldn't be a bad idea either.
You need to make sure that the drill bit you are using is about the same size as the paper clip. Generally about a #64 bit will do well.
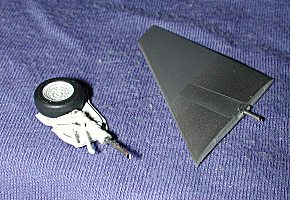
For this exercise, we will be fixing the main gear and the stabilizer. The other parts can be held on just fine with another dab of superglue. However some bits are either weight bearing (the landing gear) or have a large part held by a small surface area (the stabilizer). These need to have more support than just a dab of glue or they will break again.
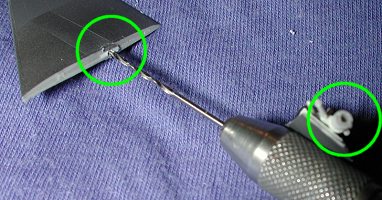
First step is to drill out holes in the
airframe where the parts will attach. It would be nice to get these bits in the
exact center, but it isn't always gonna happen, and besides, these will
generally be shelf sitters anyway. The next step is to drill out the components
themselves, using, of course, the same size drill bit.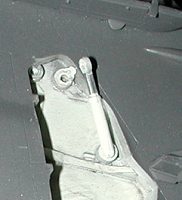
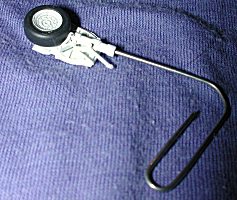 Once the components and
airframe have been drilled out, the next thing to do is to insert the section of
paper clip. You can either put in the whole piece and let it dry before trimming
it, or you can cut of a section, glue it in and then trim it later. With small
parts it sometimes a good idea to use the larger paper clip rather than just a
segment. Anyway, when the glue is dry, you will end up with overly long sections
of paperclip jutting out from your parts.
Once the components and
airframe have been drilled out, the next thing to do is to insert the section of
paper clip. You can either put in the whole piece and let it dry before trimming
it, or you can cut of a section, glue it in and then trim it later. With small
parts it sometimes a good idea to use the larger paper clip rather than just a
segment. Anyway, when the glue is dry, you will end up with overly long sections
of paperclip jutting out from your parts.
It is then simply a matter of snipping off the excess, putting a drop of glue on it and then inserting it into the hole you have drilled in the airframe. A touch of accelerator to speed up the drying process and you are done.
Total time, about 10 minutes for both bits.
It is really very easy and usually the repaired section is much stronger thanks to the little section of metal you have put in there. Best of all, an old favorite is back where it belongs!
A word of caution. When you snip any of the paper clip, make sure you are wearing eye protection and that you aim the little bit to be cut away from you and into an old t-shirt or other soft surface. These little bits can go flying at a very high speed and will hurt.