
Tameo 1/43 Ferrari 156/85
| KIT #: | TMK 019 |
| PRICE: | $21.00 including shipping from an auction |
| DECALS: | Two options |
| REVIEWER: | Scott Van Aken |
| NOTES: | Metal kit with rubber tires and p.e. bits |
| HISTORY |
The Ferrari 156/85 was a Formula One car designed by Mauro Forghieri and Harvey Postlethwaite and manufactured by Scuderia Ferrari for use in the 1985 Formula One season. Michele Alboreto drove the car to second place in the 1985 World Drivers' Championship. It was also driven by René Arnoux and Stefan Johansson. Arnoux was to drive for the season but was mysteriously sacked after the opening Brazilian Grand Prix in which he finished a fine 4th. Johansson was hired to drive in his place for the rest of the season.
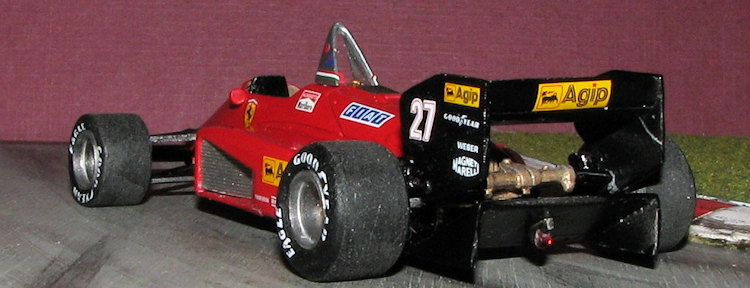
The exhaust systems were set outside of the vee, opposite to the preceding
126C4. The turbocharger for each bank was located at the outside of the vee.
Thus the intake chambers were loc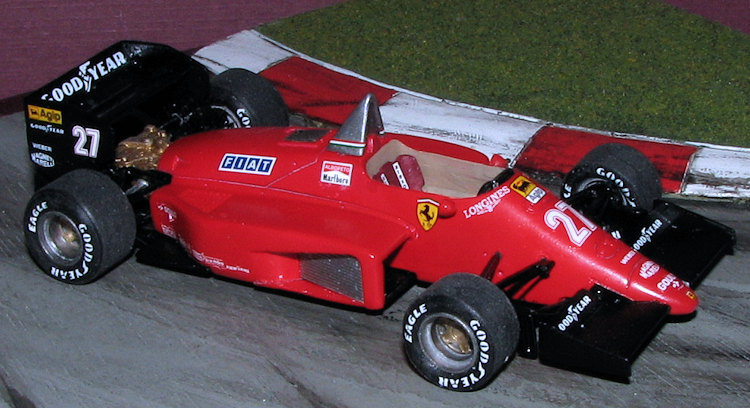 ated inside the vee. The Ferrari Tipo 031/2 V6
Turbo produced around 900 bhp (671 kW; 912 PS) during the 1985 season.
ated inside the vee. The Ferrari Tipo 031/2 V6
Turbo produced around 900 bhp (671 kW; 912 PS) during the 1985 season.
The 156/85 proved to be fast and reliable in the early part of 1985 but as the season wore on, the Ferraris became increasingly fragile in both qualifying and race trim with numerous engine and turbo failures throughout the season. It was this unreliability that ultimately would cost Alboreto, who actually led the points standings for most of the season, the drivers' championship. Alboreto retired from four of the last five races in 1985 and retired but was classified as 13th due to completing 90% of the race in the other (Spa) allowing McLaren's Alain Prost to come from behind and win his first championship.
Alboreto famously drove half a lap of the Brands Hatch circuit on lap 13 of the European Grand Prix with the rear of his car on fire following another turbo failure. He drove the on-fire car into the pits and straight to his Ferrari pit, many observers seeing this as his way of showing that the Ferrari's unreliability had cost him the World Championship which Prost won by finishing 4th at Brands. While Alboreto had unreliability, his team mate Johansson finished 5th twice and 4th once with only two retirements in the last five races. The Constructors Championship had the same story as Alboreto's. Ferrari's (Alboreto's) unreliability had allowed McLaren to overtake them in the points leaving the Maranello outfit as runners up.
| THE KIT |
 re the suspension pieces. While the rear axle simply slides
through the rear suspension assembly (which includes springs), the front has
stub axles on the brake assemblies. The kit includes two
sets of metal wheels one with an additional step on the inside of the wheel
rim.
re the suspension pieces. While the rear axle simply slides
through the rear suspension assembly (which includes springs), the front has
stub axles on the brake assemblies. The kit includes two
sets of metal wheels one with an additional step on the inside of the wheel
rim. | CONSTRUCTION |
 about 40% of the time
one takes to build the kits. With metal kits, files are a huge plus in terms
of help in cleaning up seams.
about 40% of the time
one takes to build the kits. With metal kits, files are a huge plus in terms
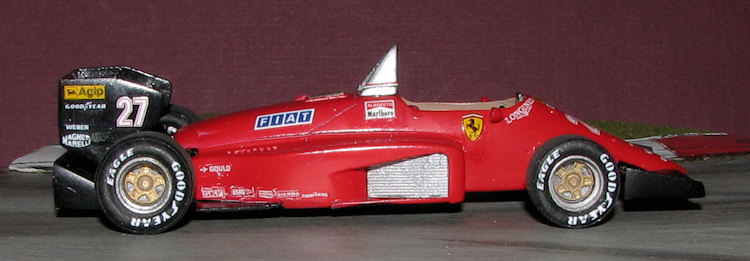
of help in cleaning up seams. 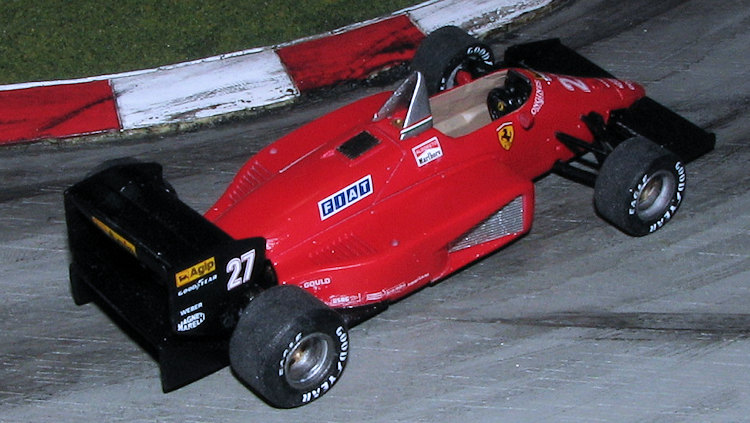 that was nice and dry, I sprayed on a
custom mixed Ferrari red that is designed for 70's and 80's Ferrari racers. This
appears to be a lacquer paint made by Zeropaints that is ready to spray.
It is very good paint and covers just great. Typical of lacquers, it dries quite
quickly.
that was nice and dry, I sprayed on a
custom mixed Ferrari red that is designed for 70's and 80's Ferrari racers. This
appears to be a lacquer paint made by Zeropaints that is ready to spray.
It is very good paint and covers just great. Typical of lacquers, it dries quite
quickly. 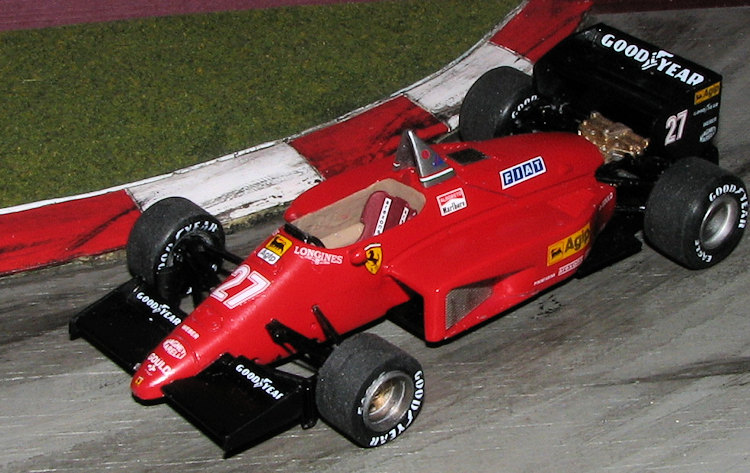 paint had been scratched away and
started applying decals.
paint had been scratched away and
started applying decals.| CONCLUSIONS |
I won't kid you and will admit that the kit took longer to build because it was made of cast metal. With the newer resin multimedia kits, there isn't nearly the cleanup required and the parts just fit a whole lot better. However, metal kits are usually less expensive and can be found rather easily with a bit of searching.
Couple of additional notes. One is that the benefit of metal is that if all the wheels do not touch, you can tweak the metal bits to ensure that happens. Down side is that even with primer, sometimes the paint can be worn away if handled too much. I had this issue with the black, which is Tamiya paint and perhaps does not provide the stick of other types. The red was not an issue in this regard nor was the Alclad II used for the roll hoop. Regardless, I am pleased to be able to add this one to my small, but growing collection of grand prix racers. If you are in the need of something a bit different, this one would be a good choice. Best of all, the finished model is under 4 inches in length so will not take up a lot of space.
| REFERENCES |
https://en.wikipedia.org/wiki/Ferrari_156/85
15 July 2016
Copyright ModelingMadness.com
If you would like your product reviewed fairly and fairly quickly, please contact the editor or see other details in the Note to Contributors.