Airfix 1/72 Heron II
Kit Number: 3001
Price: $8.00 MSRP
Decals : one version: a preserved aircraft for Jersey Airlines
Date of Review: 31 March, 1996
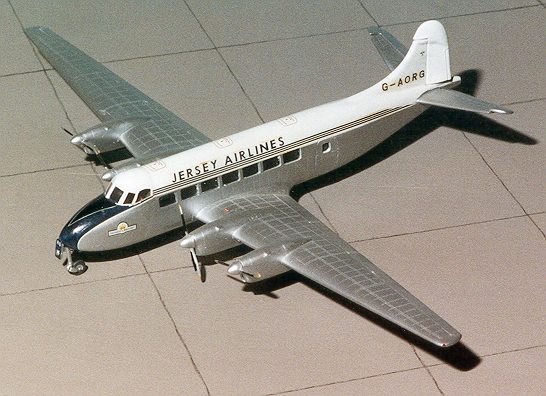
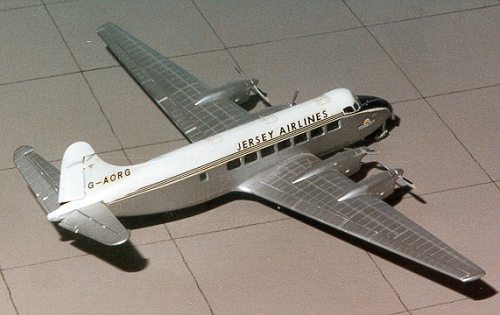
Comments: The Airfix Heron is one of the few commercial airliners that has been available in 1/72 scale. It is also one of Airfix's older kits, as can be seen by the 'operating' features which are control surfaces, landing gear, and a nice open passenger door complete with boarding ladder and passengers. I find it odd that the open door is available since there is no passenger interior with the kit!
When you first look at the kit, it is vintage Airfix; giant rivets and all. The first question you need to ask yourself is if you should sand off all the rivet detail or just do as little damage as possible during building. I chose the lazy way out and did not sand off the rivets. Next you need to decide what to do about the windows. A modern airliner kit will have provisions to replace the windows with decals as it makes for a much neater kit. To do this with the Heron would not be a difficult job, but then it would make sanding off the rivets mandatory as the amount of damage done while puttying the windows would require an overall de-detailing job.
 The actual fit of the parts is not bad at all and
the panel lines matched from one surface to another. There are a number
of sink marks on the fuselage and wings that are near impossible to fill
and keep the detail so I left them. The cockpit consists of a pair
of seats and an instrument panel w/ decal. Don't go through a lot of
effort on it as it is difficult to see through a rather distorted canopy.
You do need to pack the nose with lots of weight and I had to add a
few weights behind the cockpit bulkhead as this baby is a real tailsitter.
The landing gear really needs replaced and Aeroclub does offer a
replacement set, which I did not use. You also need to replace the propellers
as the kit offerings are pretty poor and again Aeroclub
should be able to help.
The actual fit of the parts is not bad at all and
the panel lines matched from one surface to another. There are a number
of sink marks on the fuselage and wings that are near impossible to fill
and keep the detail so I left them. The cockpit consists of a pair
of seats and an instrument panel w/ decal. Don't go through a lot of
effort on it as it is difficult to see through a rather distorted canopy.
You do need to pack the nose with lots of weight and I had to add a
few weights behind the cockpit bulkhead as this baby is a real tailsitter.
The landing gear really needs replaced and Aeroclub does offer a
replacement set, which I did not use. You also need to replace the propellers
as the kit offerings are pretty poor and again Aeroclub
should be able to help.
The positionable rudder and tailplanes are a nice option that adds quite a bit to the finished kit. The engines need a good putty application to smoothly blend with the wing, but it can be done easily as the engines are relatively far apart. Once all the major subassemblies are finished, a bit of sanding on the joining surfaces will ensure a good, tight fit. Final preparation was to mask the cockpit and passenger windows, primer the model and fix any spots and then paint the aircraft gloss white. The upper surfaces were then masked off just above the upper window line, and the rest of the aircraft was painted in Metallizer aluminum. Next was decal application. The Airfix decals were just about the only option as a search for aftermarket decals proved fruitless and I did not want to do the Royal Navy version that is actually pretty plain and can be produced using various Modeldecal sheets. Airfix decals are flat and need to be trimmed prior to application. They reacted well to setting solution which is good as the fore cheat lines wrap around the nose. Once the decals were applied, Roundel Blue was brush painted between the nose decals as I couldn't think of a decent way to mask it. Fortunately, Xtracolor paint brushed well and once it was dry, the final decal, a nose antiglare panel was applied.
The overall result is pleasing as long as you don't look too closely. It also makes a bit of a change from the military types most of us build. Recommended to those with some experience and those who are nostalgic for the '60s.
Copyright ModelingMadness.com. All rights reserved. No reproduction in part
or in whole without express permission from the editor.
Back to Reviews Page
2023