The first steps all involve gluing together sub-assemblies. This means the
hair parts, left arm, upper and lower right arms, legs and torso. I decided
to use the right arm that hold the whip rather than the one with the gun.
The pins and sockets on all the parts are very large and while the parts do
fit well, all the seams needed filler of some sort as one simply cannot
eliminate the hairline seams.
The kit makers took some liberty with the cat suit on this. If you look at
photos from the TV show, you'll see that the suit is not a smooth leather
surface, but one that is quite heavily detailed. Undoubtedly to allow the
actress to have more flexibility and to allow her skin to breathe. While
more slinky, leather would be very

hot after a very short period of time.
Anyway, this smooth surface makes the inevitable sanding much easier to deal
with as there is no detail to be lost. Well, almost no detail and one will
have to replace any folds sanded away. I used a set of micro files to
accomplish this.
Once all the appendages were ready, I started attaching them. The attachment
points are quite positive and actually rather cleverly designed. They don't
eliminate seams, but do make for a solid fit. I attached all but the left
arm. The left arm has a hand piece that fits on the end of it. This is a bit
difficult to clean up, but with time can be done. Do not remove the claws on
the end of the hand as they are supposed to be there. I also found that this
needed to be installed after the belt was painted and attached, Fortunately,
the suit is pretty much the same shade so doing filler work after much of
this has been painted will not be an issue.
With most of the figure built, it was given a coat of grey primer to check
for any areas that might have been missed. The stand was also primered at
this time. I built up the cat statues and primered them as well. The seams
on the inside of these are nearly impossible to reach so I did not bother.
The statues were painted using Model Master enamel gold.
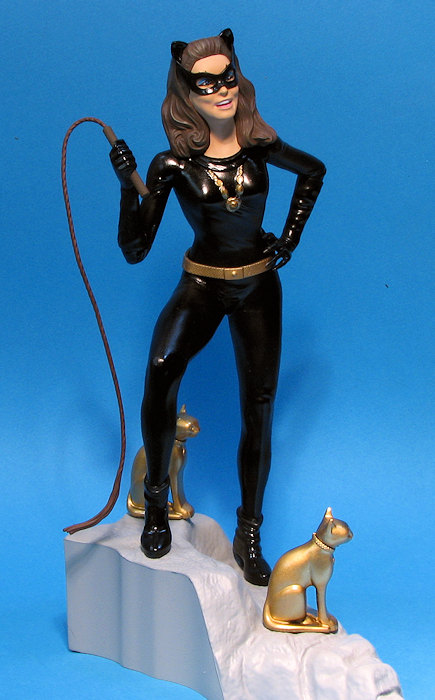
For the main figure, I used Tamiya semi-gloss black. The figure is supposed
to be in skin tight leather or latex so this seemed appropriate. I used a brown for
the hair from the Badger acrylic range. Also from that range was the flesh
for the face. On the whip I used a reddish brown I had mixed up for a
previous project and painted the handle with Vallejo leather. The belt was
painted with the gold and once dry was installed. There is practically no
gap where her hand covers the belt, but on the other side the gap is considerable.
That was carefully filled, detail rescribed and the area brush painted. I
also brush painted her pendant. After some careful masking of the belt, I
attached the left arm and dealt with the seam.
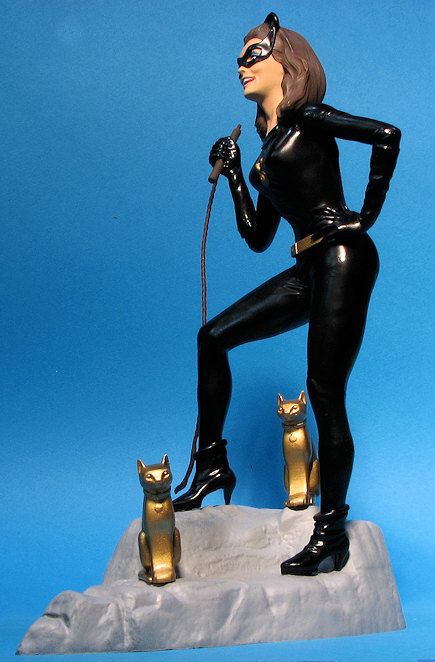
With all that done, the face was painted using a variety of colors. I'm not
good at all that shading that the masters can do. What I see from others of
a similar skill level as I often look grotesque so I did no face shading,
letting natural light do its trick. Just like it does with real people.
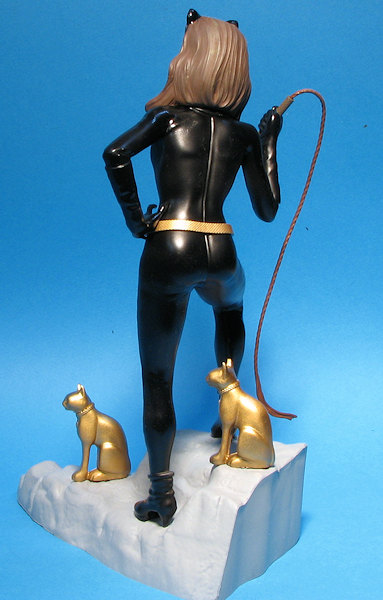
The whip was glued in place and I had to position bits around it to keep it
in place. It cannot be posed as shown on the box art. The statues were glued
on the base and I used a drop of white glue to hold her mask in place. A bit
of dark wash followed by some dry brushing with khaki was done on the hair.
I then simply snapped the head in place and attached the figure to the base.
 These sections seem to be pretty
standard for plastic figure kits with separate arms, legs, torso and head, each
section comprising at least and front and rear piece. The kit does provide
options, one of them being a mask. The other is the decision on weapons. The box
art shows a whip and this is one of the options. The other is the catatonic
pistols. You are provided separate lower right arms depending on the weapon
being used. You can also open holes in the two piece belt and attach a pair of
pistols to the belt.
These sections seem to be pretty
standard for plastic figure kits with separate arms, legs, torso and head, each
section comprising at least and front and rear piece. The kit does provide
options, one of them being a mask. The other is the decision on weapons. The box
art shows a whip and this is one of the options. The other is the catatonic
pistols. You are provided separate lower right arms depending on the weapon
being used. You can also open holes in the two piece belt and attach a pair of
pistols to the belt. 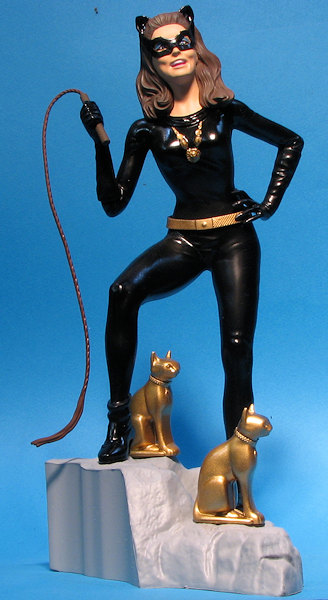 Various articles in Wikipedia