| KIT #: | 615 |
| PRICE: | $ |
| DECALS: | Several options |
| REVIEWER: | Scott Van Aken |
| NOTES: | Includes photo etch fret |
| HISTORY |
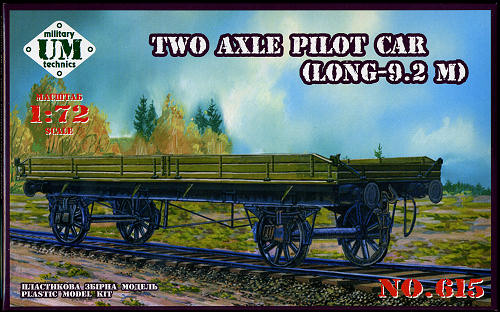
Two axle flat open cars were built in the USSR during 1920-1940. These platforms were used before the war for different types of cargo up to 20 tons. In wartime, the were used as pilot cars place in front and behind armored trains (sometimes several of them). Their purpose was to protect armored cars and locomotives from mines. Pilot cars were heavily loaded with sandbags and detonated mines, leaving the rest of the train untouched. Pilot cars has composite chassis made from metal and wood placed over axles on leaf springs. All four sides could be dropped down on hinges. Depending on the purpose, the floor and sided could be metal or wood construction It was equipped with pneumatic brakes. These wee often used as a chassis for light armored cars and air defense stations.
| THE KIT |
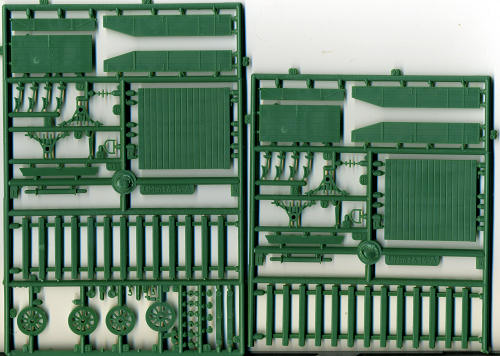 There isn't a ton to this kit, but it will require some advanced skills (mainly due to the photo etch). There are two green sprues, a somewhat large photo-etch fret and a section of wire.
The molding on the kit is pretty good and if you have had the chance to build a UM kit before, you'll find this one nicely done. The main body of the flatcar is made of two large and two small sections. These have a small alignment tab and a slot on each piece to get them together. The rails that are provided are butt joined and have some rather prominent ejector pin marks on some of the rails that will need to be filled in. There are large ejector marks on some of the side panels for the car as well. It will be quite difficult to get these to look normal once you fill and sand them without destroying the rivet detail right next to them.
The photo-etch is mostly used for the side trim and the car bumpers amonst the more visible items. The section of wire is to be used for what I assume are the underside braces (those broad triangular structures on the underside).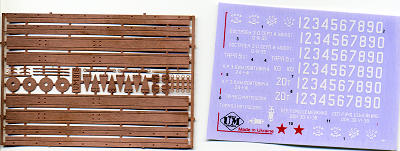
Instructions allow you to build the car with the sides as a removable item. At least that is how it looks to me. No color information is provided during the build stages but is provided in an overall paint and markings drawing. You will also need to do some filing to get some parts to fit. This is shown during construction. The car has a variety of markings that can be placed on it. The decal sheet is well printed and quite matte. The carrier around the decals is very large and you'll basically need to cut each one individually.
| CONCLUSIONS |
This adds to UM's growing catalogue of rolling stock as they have a goodly selection of 1/72 Soviet rail road items, which I believe, includes locomotives. Just by itself, it makes for an interesting conversation piece.
| REFERENCES |
Kit instructions as this isn't a major attraction on the 'net.
February 2010
thanks to www.scale-model-kits.com for the preview kit. Get yours at the link at a discount.
If you would like your product reviewed fairly and fairly quickly, please contact the editor or see other details in the Note to Contributors.