Revell AG 1/144 Spaceship II/White Knight II
| KIT #: | 04842 |
| PRICE: | $29.99 SRP |
| DECALS: | One option |
| REVIEWER: | Scott Van Aken |
| NOTES: | New Tool Kit |
| HISTORY |
The Scaled Composites Model 339 SpaceShipTwo (SS2) is a suborbital, air-launched spaceplane designed for space tourism. It is under development as part of the Tier 1b program under contract to The Spaceship Company, a California-based company that is wholly owned by its sister company Virgin Galactic. The Spaceship Company was formerly a joint venture between Virgin Galactic and Scaled Composites, but Virgin became the company's sole owner in 2012.
 SpaceShipTwo is carried to its launch altitude by a jet-powered mothership, the Scaled Composites White Knight Two, before being released to fly on into the upper atmosphere, powered by a rocket motor. It then glides back to Earth and performs a conventional runway landing. The spaceship was officially unveiled to the public on 7 December 2009 at the Mojave Air and Space Port in California. On 29 April 2013, after nearly three years of unpowered testing, the spacecraft successfully performed its first powered test flight.
Virgin Galactic plans to operate a fleet of five SpaceShipTwo spaceplanes in a private passenger-carrying service, starting in 2014, and have been taking bookings for some time, with a suborbital flight carrying an initial ticket price of US$200,000. The spaceplane could also be used to carry scientific payloads for NASA and other organizations.
| THE KIT |
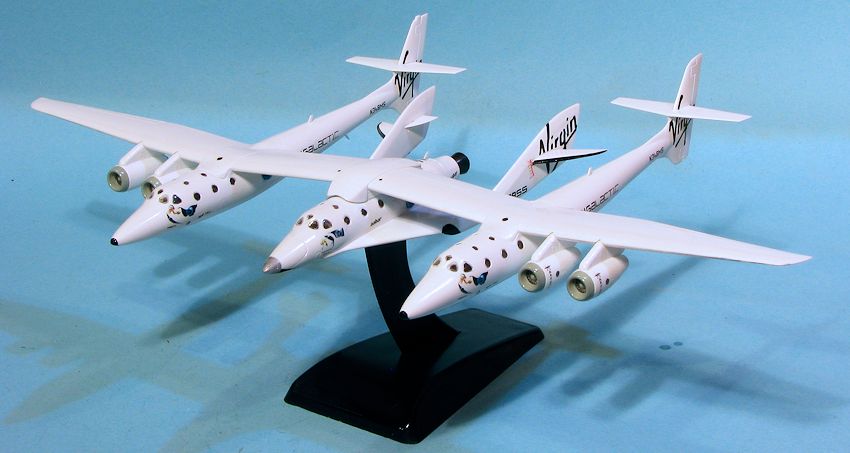
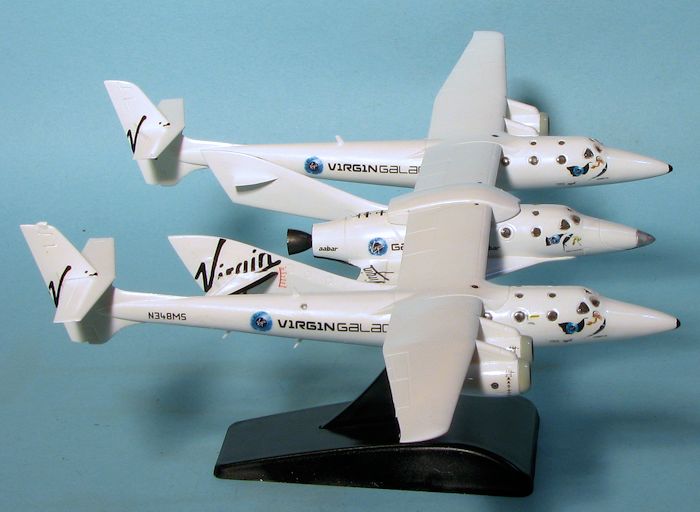
 The kit has no interior, which is somewhat standard for the scale. There are, however, a lot of windows to put into both the mother ship and the space plane. You may want to paint the interior black. Each of the two fuselages of the mother ship will require 10 grams of weight to keep it from being a tail sitter. The kit can be built either gear up or gear down and comes with a nice display stand, something I think will get a lot of use. If you decide on gear down, you'll find nicely molded landing gear with separate wheels. For gear down, the gear doors will need to be cut apart. Each of thengine pods consists of two main halves, a compressor face, a one-piece intake piece and a one-piece exhaust section.
| CONSTRUCTION |
 in the instructions. This required a #45 drill bit, though a hobby knife would have worked as well. Next the interior of all the vehicles was painted light grey using Vallejo Sky Grey as it was handy. One has to decide rather early on whether to build the composite as one piece, two separate kits or in flight. I decided to build this one in flight on the stand so did not put any weight in the noses. I did install the clear bits, which fit quite well, but typical of small clear bits have small dimples in the middle of them. The wheel wells were installed to provide something for the closed gear doors to sit on and the fuselage halves were glued together.
 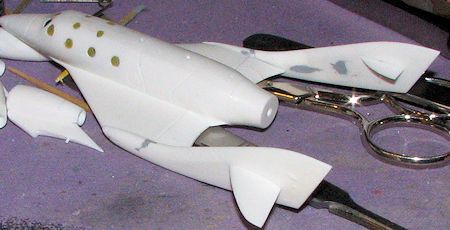 are in two halves and those were glued together as well. The two tail booms are single pieces and suffer rather badly from sink areas. I filled the most egregious ones on the inside and left the ones on the outside alone as they were quite shallow. The boom to wing join also wasn't the best and got some filler treatment as well.
 | COLORS & MARKINGS |
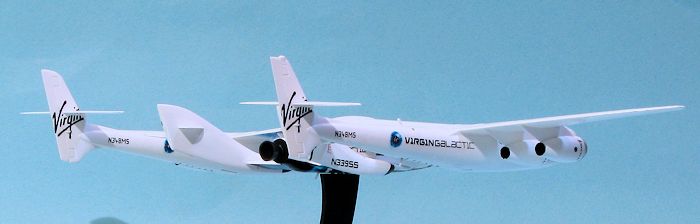
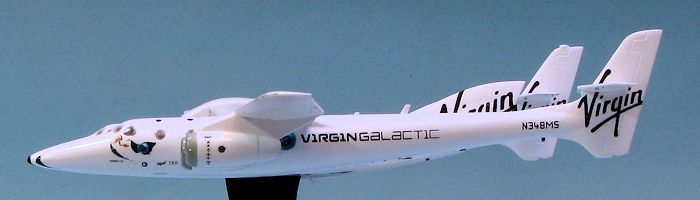
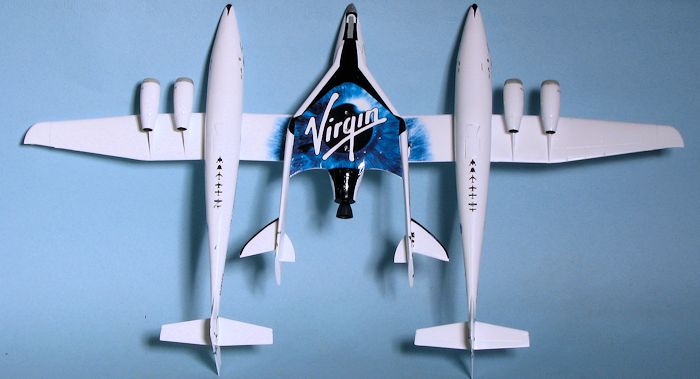
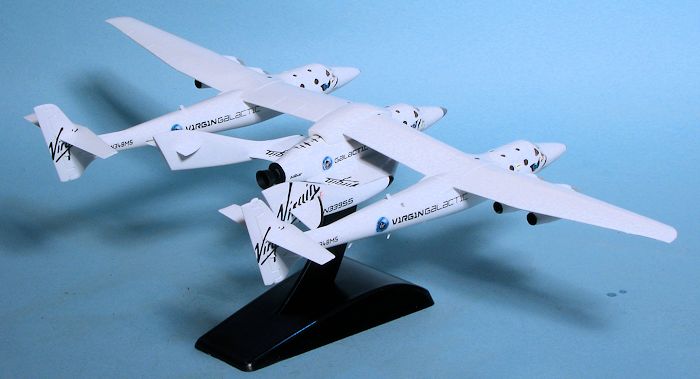 craft. The instructions tell you to use setting solution and you'll need it. In fact, many of the decals fit on convoluted surfaces or, like those on the fins, are in sections so I used Solvaset on them. There was no problem with that method and after several days, I got them all in place. I did notice that the black decals for the leading edge of the Space Ship II tail booms are far too small to cover the area shown in the instructions so painting is the only way to go. I also had to paint the leading edge of the outer stabilizers. Eventually, all the decals were in place and I could return to building.
 | FINAL BITS |
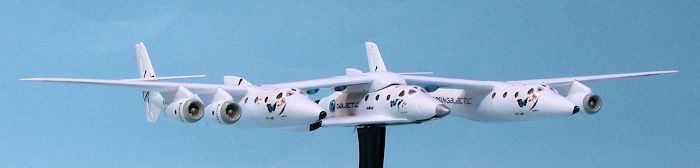
 Several of the decals covered up holes for antennas and other things so I sought those out and punched them back open using a pin. Had I installed the antennas and some other bits, installing the decals would have been a nightmare. I think that Revell and other companies should point out the need to keep these sorts of bits off until the end steps, but they do not. I also painted the engine compressors and installed the forward cowling pieces after painting them Light Aircraft Grey.
 | CONCLUSIONS |
| REFERENCES |
http://en.wikipedia.org/wiki/SpaceShipTwo
March 2014 Thanks to me for buying the preview kit. If you would like your product reviewed fairly and fairly quickly, please contact the editor or see other details in the