Hasegawa F-4 Phantom II Eggplane
| KIT #: | 60105 |
| PRICE: | $11.98 MSRP |
| DECALS: | Two options |
| REVIEWER: | Scott Van Aken |
| NOTES: | Reissue |
| HISTORY |
 History? This is about as much of a caricature of an aircraft as
anything around. If you want a history of the F-4, then try
www.google.com.
History? This is about as much of a caricature of an aircraft as
anything around. If you want a history of the F-4, then try
www.google.com.
What I can tell you is that these types of kits were initiated by Hasegawa some time in the 1970s. They disappeared from view for some time, but have recently made a resurgence and are being produced by other companies besides Hasegawa.
Generally, they are easy to build and offer fair fit and do not take up a lot of shelf space. I have even seen aftermarket decals for some subjects. They make a great change from the norm and are worth the effort of building.
| THE KIT |
So, what's in the box? Well, you get two well done sprues of somewhat
thick, raised panel line plastic. The kit includes a nicely molded one-piece
canopy and while there is no cockpit detail, there is a pilot figure to paint.
For things under wings, a pair of missiles that are probably su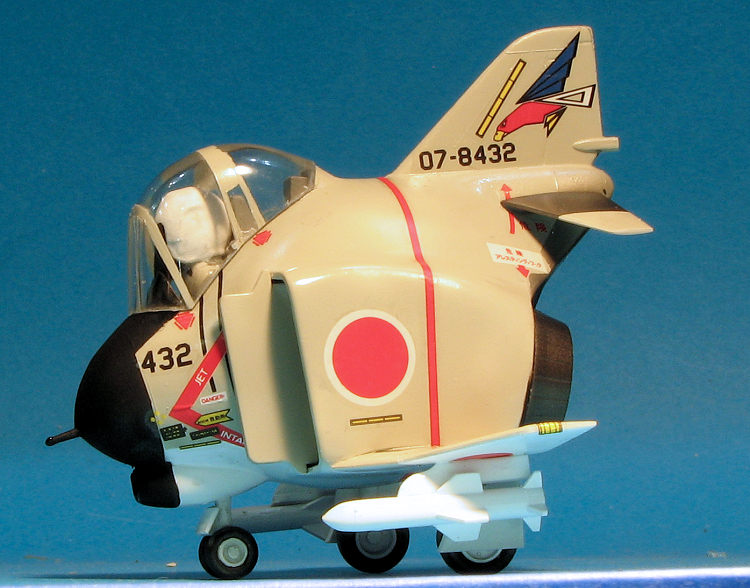 pposed to be
Sparrows, but look like Harpoons are included. There is something missing from
this, the third incarnation of this kit and you can spot the absences from the
gaps in the sprues. While the Phantom Boy figure is here, gone are the cart,
bombs, Gatling gun and stand that came with the earlier incarnations. I'm not
really sure why they decided to leave these off unless they didn't want to
bother with the piece of bent wire that was required with the stand.
pposed to be
Sparrows, but look like Harpoons are included. There is something missing from
this, the third incarnation of this kit and you can spot the absences from the
gaps in the sprues. While the Phantom Boy figure is here, gone are the cart,
bombs, Gatling gun and stand that came with the earlier incarnations. I'm not
really sure why they decided to leave these off unless they didn't want to
bother with the piece of bent wire that was required with the stand.
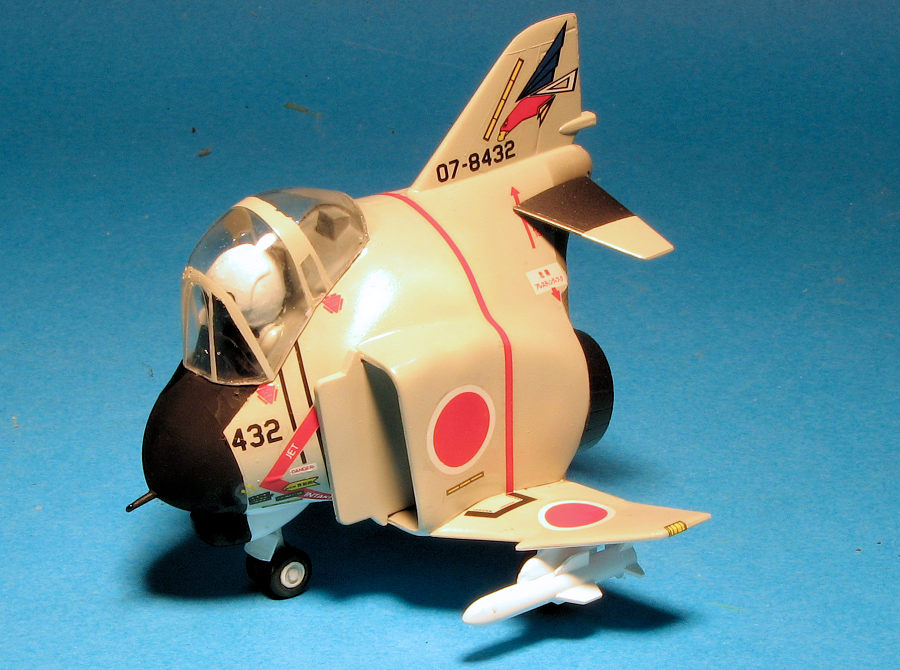
Markings are for two planes. One from 302 Sq JASDF and the other from the 388 TFW in SEA camo. Neither marking option is specifically identified. You might also notice that there is no back-seater as any 'real' F-4 would have. Decals are the usual thick and semi-transparent Japanese stuff, but finding alternatives won't be easy. What has been added is a second smaller sheet with more accurate stencil markings for the USAF and JASDF versions. The painting guide
is with the usual Gunze paints.
| CONSTRUCTION |
First thing one has to realize is that these are not the greatest fit and
they do take a few liberties with reality (oh really?). For instance, the real
Phantom II is not a single seater. One starts this by removing the bits from the
sprues and cleaning them up. Sprue attachments are a bit large, but not huge. No
need for weight as you glue the halves together, but you will have to clean up
the seams and fill the hole in the bottom for the stand wire.
seater. One starts this by removing the bits from the
sprues and cleaning them up. Sprue attachments are a bit large, but not huge. No
need for weight as you glue the halves together, but you will have to clean up
the seams and fill the hole in the bottom for the stand wire.
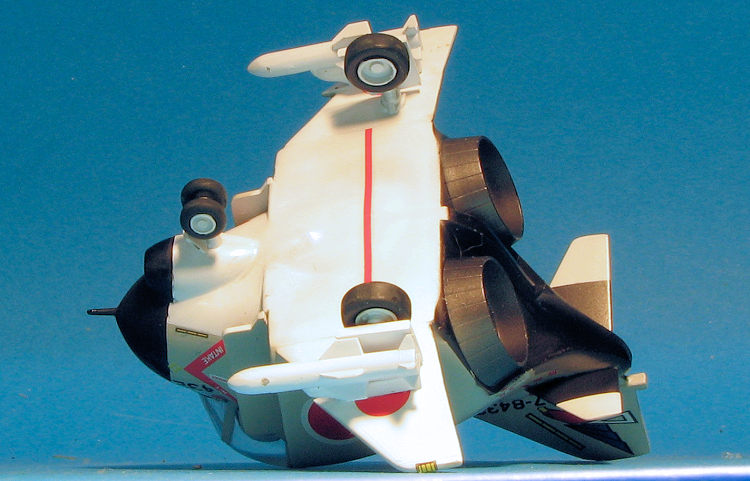
The wings are stubs and are attached to the fuselage. Fit is loose. Once dry, the landing gear were installed. The nose gear in particular had a very thick seam on the forward door. There is no nose or main well, the gear gluing right on the bottom of the wing. The main gear outer doors have large holes in them for the alignment pin. Main wheels are molded on the main gear but nose wheels are separate. The wings have holes for the pylons already drilled. These as well as the missiles and the outer main gear doors were left off until final assembly.
| COLORS & MARKINGS |
 pper
surface was given a coat of gloss light gull grey. The nose was masked off
and painted black along with the anti-glare panel. For the interior, I broke
out a brush and painted it dark gull grey. Pilot got a white helmet using
Humbrol white acrylic and I used the black and grey for the rest of the
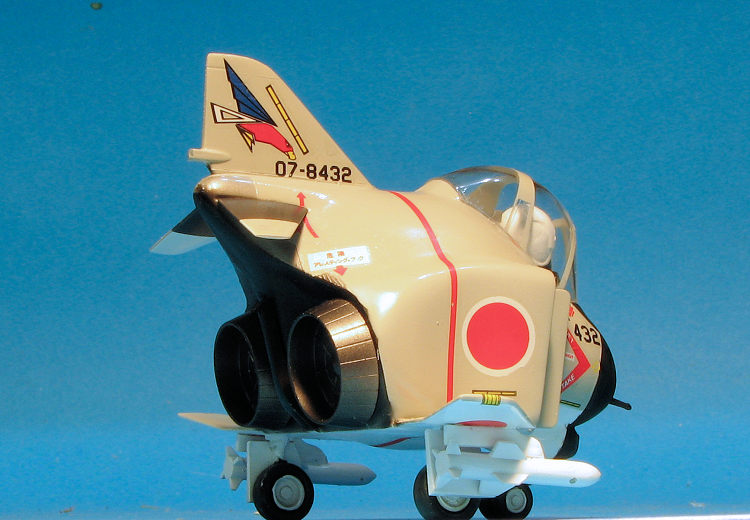
cockpit. Much masking went on for the steel rear fuselage, inner horizontal
stabs and the exhaust, which was also painted in Jet Exhaust. Masking the
canopy was no easy task as the frame lines are rather indistinct after
decades of repops.
pper
surface was given a coat of gloss light gull grey. The nose was masked off
and painted black along with the anti-glare panel. For the interior, I broke
out a brush and painted it dark gull grey. Pilot got a white helmet using
Humbrol white acrylic and I used the black and grey for the rest of the
cockpit. Much masking went on for the steel rear fuselage, inner horizontal
stabs and the exhaust, which was also painted in Jet Exhaust. Masking the
canopy was no easy task as the frame lines are rather indistinct after
decades of repops. | CONCLUSIONS |
As usual, I was foxed by a simple looking kit and it took longer to complete than I'd hoped. I also had a few issues with 'ghost seams' as I used standard filler for some, having run out of super glue and being too lazy to drive to town to get some more. These are not for everyone as the fidelity freaks will have a conniption fit as there is NOTHING accurate about it. But hey, 'it looks like a Phantom'. Sorta.
25 August 2017
Copyright ModelingMadness.com. All rights reserved.
If you would like your product reviewed fairly and quickly , please contact me or see other details in the Note to Contributors.