| KIT #: | 40127 (PK-127) |
| PRICE: | $7.00 from a vendor |
| DECALS: | Two options |
| REVIEWER: | Scott Van Aken |
| NOTES: |
| HISTORY |
The de Havilland Canada DHC-6 Twin Otter is a Canadian 19-passenger STOL (Short Takeoff and Landing) utility aircraft developed by de Havilland Canada and currently produced by Viking Air. The aircraft's fixed tricycle undercarriage, STOL abilities and high rate of climb have made it a successful cargo, regional passenger airliner and MEDEVAC aircraft. In addition, the Twin Otter has been popular with commercial skydiving operations, and is used by the United States Army Parachute Team and the United States Air Force's 98th Flying Training Squadron.
| THE KIT |
 It still surprises me how popular Matchbox kits are with modelers. Despite no longer tooling new kits by the end of the 1970s, the brand was moved to China where kits continued to be produced. By the late 1980s, the plastic portion was purchased by Revell AG who continued to release kits under the Matchbox name, this kit being a 1989 boxing. Any more, the kits are produced under the Revell label.
Despite being a Revell AG kit, this one is still in the three different colors of plastic of this series of kits. The various shades of plastic were very much a trademark of Matchbox kits and it is a bit of a shame that we have lost that. Typical of the brand, this kit is accurate in outline, but lacking in the sort of detail one now expects. This is particularly true of the interior, which is little more than a cockpit floor, rear cockpit bulkhead, two generic seats a rather thick control yoke and an instrument panel. There is no cabin detail aside from a rear bulkhead and I think that is for stiffness. All the side windows are inserted into openings in each fuselage half and so will be difficult to mask. They are designed to be installed from the inside.
Once the fuselage halves are together, one then attaches the nose. Two options are provided here, one being longer than the other to provide additional baggage space. You'll need to add 20grams of weight to this, to keep it from tail sitting.
Wings are upper and lower halves with three piece engine nacelles. If one wants the props to turn, those 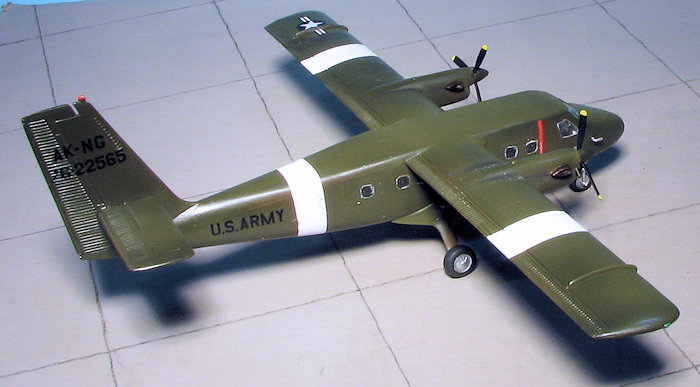 must be attached when the forward nacelle piece is glued on. All the under wing flap hinges are separate pieces as are the upper wing fences. Landing gear is actually quite sturdy for the main gear and the nose gear is a single piece with the gear and wheel molded as one. Matchbox designed the kit to be either on wheels, skis or, for the adventurous, floats. All these bits are included in the kit, with additional stabilizing fins for the horizontal stab included if doing the float version.
Instructions are quite typical of Matchbox and are well drawn. Painting details are at the end of the construction diagrams. Color and markings are on the back of the box with two options provided. One is the box art plane with the CAF in yellow with red bits. This options can be built on skis. The other is also mostly yellow with a large red fuselage band and black trim which will both need to be painted, a task made more difficult by the wing struts and closeness of the engines. Decals look to be fairly nicely done, though I noticed that the maple leaf in the CAF option were a bit out of register. Fortunately, there have been both military and civil decals printed over the years so you have other markings options should you decide to go that route.
| CONSTRUCTION |
 First step was to spray paint all the interior bits with Tamiya grey primer. This also serves as the interior color and makes this step pretty easy. I then started assembling the wings and the engine nacelles. The wings have a bit of a droop to them, a situation I recalled from my first building of this kit a few decades back. The fit of the nacelles to the wings is not very good, however, thanks to the lack of detailing, getting this smooth is only time consuming.
I also installed the windows in the fuselage halves. This was a bit tedious as each clear piece has to be attached separately. The two cockpit side windows were a very poor fit with one side being too small for the opening. I then built up the cockpit such as it is and trapped it between the fuselage halves. The upper fuselage was in need of major filler work and that took some time.
 During this time, I built up the wings and the engine nacelles. This also took a lot of filler work, in fact, none of the plane really fit well. The tail planes were attached as were the sponsons for the main gear legs and the short gear stubs. These stubs have rather large sink areas in them that need to be filled. I also glued on the short nose. Aft it had dried, I realized I'd forgotten to add in weight so tore it off, added weight and reinstalled. I used about 12 grams. The nose gear leg was then glued on.
On the wings, I added all the small flap and aileron hinges, then glued the wing and its bracing strut to the fuselage. Once that was done and the gaps dealt with, I put a piece of tape over the cockpit opening and gave the kit a coat of grey primer to check for areas I'd missed. With all that colored plastic, it is easy to miss spots.
After patching a few areas, I installed and masked the windscreen. This is not a great fit. The steps were added and the kit headed for the paint shop.
| COLORS & MARKINGS |
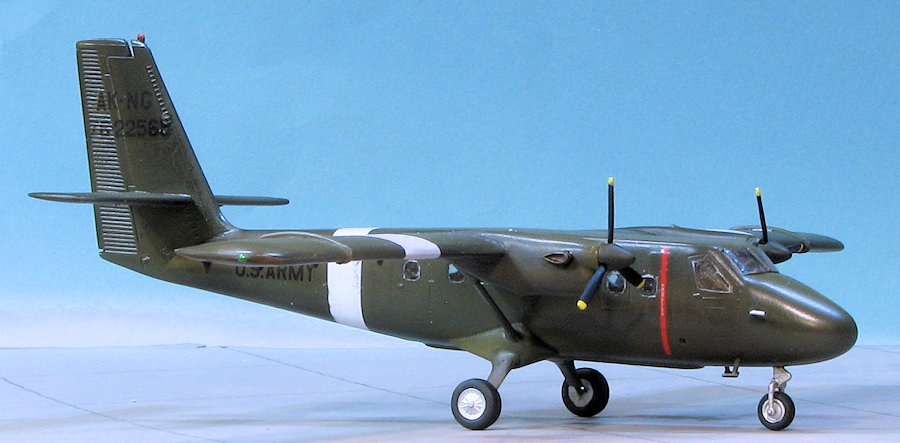
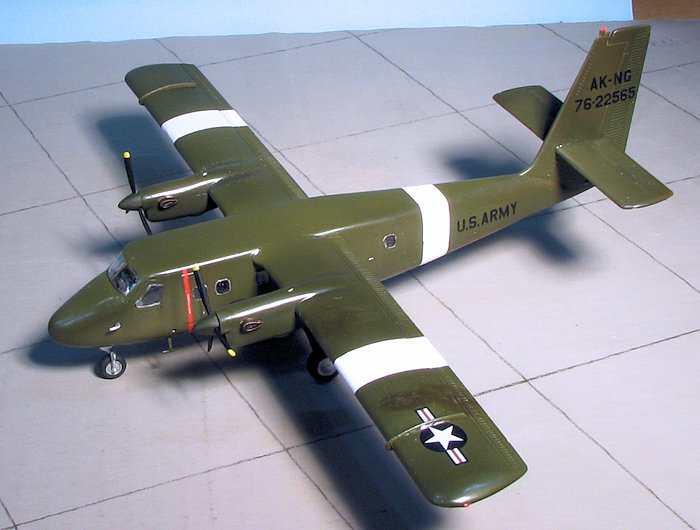
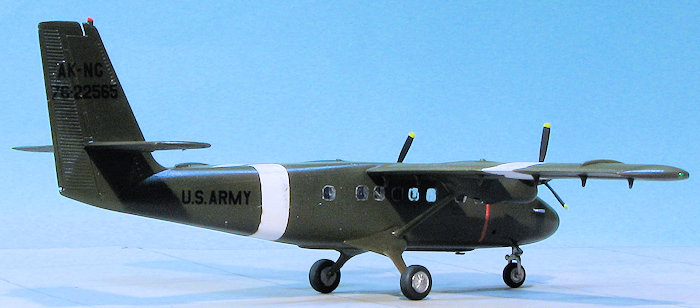
An easy paint scheme on this one. OD with white bands. I chose the US Army version as it was one that did not require the black de-icer boots or exhaust areas to be painted. Yes, lazy, but I also have few US Army airplanes in my collection and adding another would be nice. I initially painted the airframe with Tamiya OD, XF-62, but that was so dark as to be nearly black and while it may be correct, it just looked t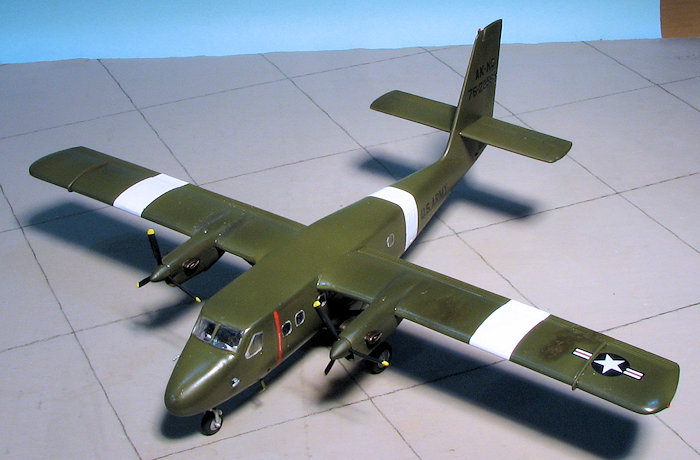 oo dark. I then misted Model Master OD 34087 over it to lighten it up and it looks better. It was then given a gloss clear coat in preparation for decals.
I used Iliad Decals sheet 72015 for the Twin Otter. There are not a ton of markings on the Alaska NG option I chose and typical of many Army types, there are no fuselage insignia. The decals are very thin so you have to take special care not to tear or have them fold. This means lots of water when placing them. Their thinness also means that the white of the insignia is not all that opaque with the background color showing through a bit. It would have been nice to have the white on these double printed. Once the markings were on, I gave the airframe a coat of semi-gloss as these aircraft were painted in gloss OD.
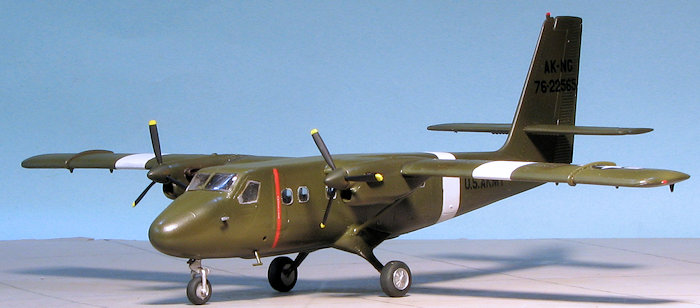
The last things to do were to attach the wheels, steps, pitot tubes and the props. The wheels are actually pretty easy to paint; at least on one side. The main wheels have well defined hubs on the outside while on the inside there are shallow depressions that are impossible to properly paint without masks. The main gear axles are also very thin and past experience has shown that they will easily break with all but tender handling. The props are not molded very well and are molded in the flight position. Those who have been around turboprops know that the blades will move to the feathered position when power is removed to keep the props from windmilling.
| CONCLUSIONS |
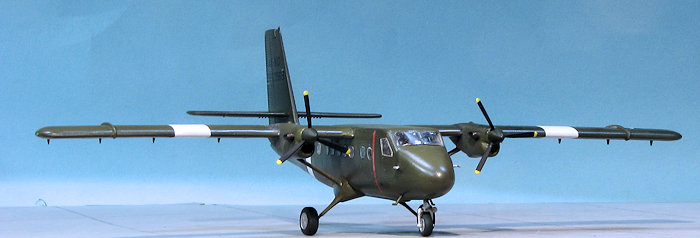 This is very much a case of the only game in town. The kit is not really that easy a build due to the fit issues that will only get greater as the molds age. I'd recommend to anyone building this one to install the windows, fill the edges with super glue and sand the whole thing flush with the fuselage, polishing clarity back into the clear bits. As it stands, it shows its age and while not an easy build, does make into a nice model for the shelf.
March 2016
Copyright ModelingMadness.com Thanks to your editor for the review kit. If you would like your product reviewed fairly and fairly quickly, please contactthe editor or see other details in the