UPC 1/72 Phantom
| KIT #: | 5077 |
| PRICE: | $1.00 when new |
| DECALS: | One option |
| REVIEWER: | Scott Van Aken |
| NOTES: | Reboxed Revell kit |
| HISTORY |
Those of you not familiar with the Phabulous F-4 Phantom II are in dire need of re-educating. Send your address and name to the local re-education office and the men in the barred-window van will be by soon to take you to the nearest facility. Soon you will be able to return to society and continue with a productive existence.
| THE KIT |
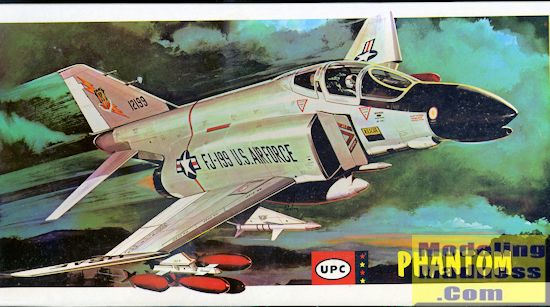
 This kit came to me via a raffle at the local model contest this year. The vendor had a stack of these and was selling them for $5 a pop. The box clearly shows the prototype YF-4C 62-12199 in full TAC markings but with the very early Navy style intake warning marking.
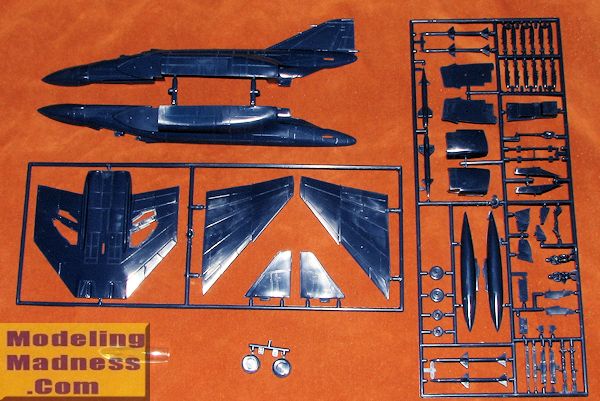
When the old style box (taped corners) was open, there is a bag of blue plastic containing the ancient Revell 1/72 F-4K kit. I recognized it right off as I built a bunch of the Revell Phantoms when I got back into airplane modeling in the early 1970s.
The kit has raised panel lines, a ton of rivets, sink areas and flash along with the usual ejector pin marks that were so typical of kits back in the days when we didn't care about such things. The cockpit is simply a tub with a pair of easy chairs onto which you are to put a pair of pilots. This is covered by a one-piece canopy assembly.
Apparently there are only a few ways of doing F-4 intakes and so this has the usual separate splitter plate with inside intake piece with a separate outer section. Once the fuselage halves are assembled (nose well is shallow and molded into the fuselage halves), the lower wing center section out to the wing fold is attached. The uppwer wing includes upper and lower outer wings. These wings are flat as in an F-4A/B with no bulge. Same with the main gear doors. Tires are the skinny versions with generic wheels. Nose wheels are dished. The nose gear doors are basically flat rectangles and the main gear doors are similarly flat. You do, however, get separate speed brakes. No retraction mechanism for any of the gear or speed brakes.
In the back are two rather softly formed tail planes. I recall when I built mine that I often used the spare stabs from the ESCI and Italeri kits I was building at the time. Burner cans are the British type without the separate petals we are used to seeing on US F-4s. For things under wings you have a centerline tank, a pair of pointy USN style inner pylong on which one puts the often carried Bullpups along with a pair of MERs and bomb shapes for the outer pylon. All the pylon holes are already opened.
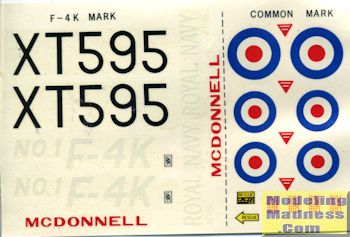 Instructions are rather basic and no painting information is provided in the instructions with a note stating it should be painted like the box art plane. This means, of course, that it should have red bombs and be painted light gull grey over white, a standard RAF scheme. It also means that the cockpit, wheel wells and landing gear are to be dark blue. Decals are provided for the prototype YF-4K in dark green/brown over white, which were apparently the standard Royal Navy colors. That's what the instructions say. The decals are actually well done, though I suspect they are no longer viable.
| CONCLUSIONS |
It is pretty obvious that the Universal Powermaster Corporation (UPC) was not too concerned about historical accuracy. Frankly, neither were many of its target builders at the time. The kit is a nice look into the past and reminds me of how far we have come in the decades since I first got started in plastic model building in the 1950s. Not a kit to build, nor even to give to a youngster, unless you simply want to teach how to assemble a model. This would be perfect for Calvin.
October 2015
If you would like your product reviewed fairly and fairly quickly, please contactthe editor or see other details in the