| KIT #: | R72-028 |
| PRICE: | $ |
| DECALS: | One option |
| REVIEWER: | Martin Pohl |
| NOTES: | All Resin kit with vac canopy and photo etch bits |
| HISTORY |
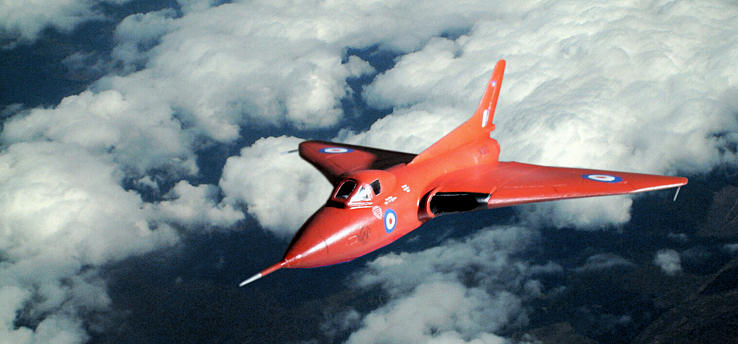
The Avro 707 was a
British experimental aircraft built to test the delta wing design for the Avro
698 jet bomber (later to become the Vulcan), and was effectively a one-third
scaled-down version of that aircraft.
 The
prototypes were ordered by the Ministry to specification E.15/48. The aircraft
were produced cheaply and quickly using components from other aircraft. Five
prototypes were built in the end. Only the first three produced provided useful
information for the Vulcan project, the last two flying too late to be of much
relevance.
The
prototypes were ordered by the Ministry to specification E.15/48. The aircraft
were produced cheaply and quickly using components from other aircraft. Five
prototypes were built in the end. Only the first three produced provided useful
information for the Vulcan project, the last two flying too late to be of much
relevance.
The first prototype,
the Avro 707, crashed on 30 September 1949.[1] Consequently the second prototype
was converted during building with the pointed nose planned for the 707A to
become the 707B. The B was given the same dorsal engine intakes as the 707. The
B would eventually end up as spares for the others. The next one to fly was the
707A, a faithful copy of the Type 698's wingform including engine intakes, and
intended for high speed testing. In 1956 it was transferred to 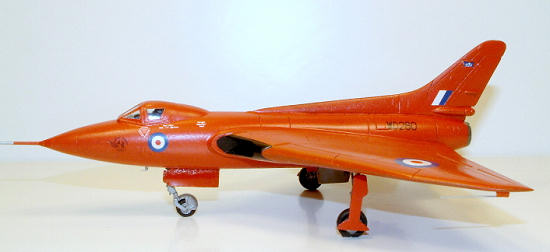 - the 707C. The 707Cs would be used to give pilots experience but the second
707C was cancelled. These two flew in 1953 by which point the Vulcan prototype
was already flying.
- the 707C. The 707Cs would be used to give pilots experience but the second
707C was cancelled. These two flew in 1953 by which point the Vulcan prototype
was already flying.
The Avro 707 made its
final public appearance at the Farnborough Air Show; the four surviving examples
of the aircraft flying alongside two Vulcan prototypes.
Two examples of the
Avro 707C two-seat variant survive. One is located at the
| THE KIT |
As the name makes the
picture, this kit comes in all resin, which means one have to take care about
those very fine landing gear parts. All parts are very fine detailed, so there
is much to count for all you rivet counters out there, never mind! But this
should paint he picture of the parts, as you can count any rivet there.
The canopy is VAC formed. To see what comes in the box, visit the preview.
| CONSTRUCTION |
 The
constructions starts with the same procedure as every time; washing the parts.
After this the flash around the parts was removed. This was quite simple on my
example and went on smooth. As I don’t want to sand a lot when using resin, I
always use
The
constructions starts with the same procedure as every time; washing the parts.
After this the flash around the parts was removed. This was quite simple on my
example and went on smooth. As I don’t want to sand a lot when using resin, I
always use
The instructions on
how to deal with all those 34 parts are easy to understand and I just followed
them. I really can’t say that much on the construction here, cause my example
just went together – the first time this happened to me with a resin kit.
The only thing I’ve
changed, I replaced the pitot tube with a needle.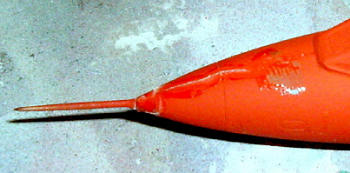
And of course , when the kit is easy to build, well then the “me” factor takes part and I managed to throw the kit off the bench two times.
| COLORS & MARKINGS |
The cockpit was
painted black with some light dry brushing of light gray. This was it, because
if you choose the canopy being closed, like me, you can’t see that much of the
cockpit then.
The VAC formed
cockpit, it’s only one, separated very easily and went on smooth after some
sanding here and there. But I have to say, to offer a second one wouldn’t be
that much of costs and could make the life of the modeler a little easier.
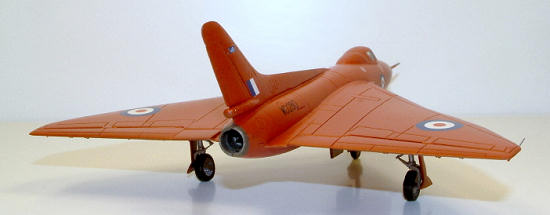
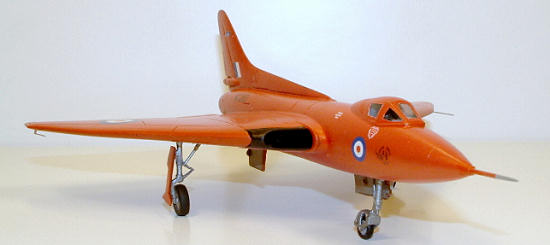 After a
complete washing, masking and light sanding the it got a base of Createx Black
Base (as always). This was then polished and a coat of Humbrol flat red was
sprayed on top.
After a
complete washing, masking and light sanding the it got a base of Createx Black
Base (as always). This was then polished and a coat of Humbrol flat red was
sprayed on top.
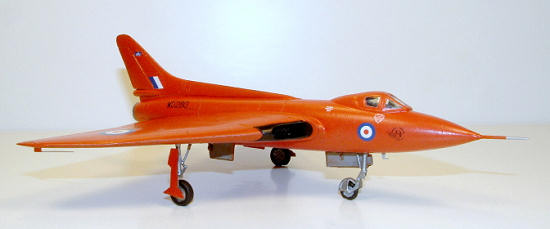
The landing gear bays
were painted medium gray, as the instruction stated. Some minor washing was done
too, but not that much, as this bird never get very dirty I guess.
The decals offered by
the kit also went on without any complains, so again I can’t tell that much
here.
In the end two coats
of Future went on it – and finished.
| CONCLUSIONS |
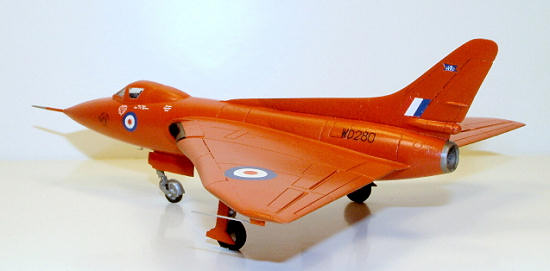 I like the
look of the baby Vulcan and in Red it is an eye catcher among all those other
silver birds I have around.
I like the
look of the baby Vulcan and in Red it is an eye catcher among all those other
silver birds I have around.
Most of all
resin kits are not that cheep and this is not an exception here, so why to spend
all that money. Well, if you, like me, are going for the seldom seen planes, or
want to present it near the Airfix Vulcan, then you don’t have that much of a
choice. If you always wanted to do a resin kit I could recommend this one based
on the experience I made with this boxing. But keep in mind, all resin kits are
short run kits, so the next boxing could differ much.
To all others,
I hope you like the pictures but you most probably won’t miss it.
| REFERENCES |
Internet (Google for Avro 707) and Wikipedia
April 2009
Copyright ModelingMadness.com.
If you would like your product reviewed fairly and fairly quickly, please contact the editor or see other details in the Note to Contributors.